Ever spent 20 minutes tweezing, waxing, and penciling in your brows—only to glance in a dim bathroom mirror and think, “Wait, are they even symmetrical?” Or worse: you post a selfie, and half your brow vanishes into shadow like it’s playing hide-and-seek with your phone camera?
You’re not imagining it. Eyebrow lighting isn’t just aesthetic fluff—it’s the invisible architect of facial definition. In fact, a 2023 study by the International Journal of Cosmetic Science found that **78% of consumers reported improved makeup application accuracy under directional, diffused lighting mimicking natural daylight**—especially for precision zones like brows.
In this guide, we’ll decode why eyebrow lighting matters, how to choose and position the right tools, and which common “pro tips” actually sabotage your look. You’ll learn:
- Why front-facing ring lights flatten your brows (yes, really)
- The exact color temperature and angle that makes arches pop
- Real-world setups used by brow artists and content creators
- One terrible “hack” that washes out your bone structure (avoid at all costs)
Table of Contents
- Why Does Eyebrow Lighting Even Matter?
- How to Set Up Perfect Eyebrow Lighting (Step-by-Step)
- 5 Eyebrow Lighting Best Practices Backed by Pros
- Real Brow Artists Share Their Lighting Secrets
- Eyebrow Lighting FAQs
Key Takeaways
- Eyebrow lighting should be **45–60 degrees above eye level**, not straight-on.
- Aim for **5000K–5500K color temperature**—true daylight mimicry.
- Diffused, directional light > harsh ring lights for dimensional brows.
- Never use yellow-toned vanity bulbs—they mute contrast and hide sparse areas.
- Portable LED panels with adjustable angles beat static mirrors every time.
Why Does Eyebrow Lighting Even Matter?
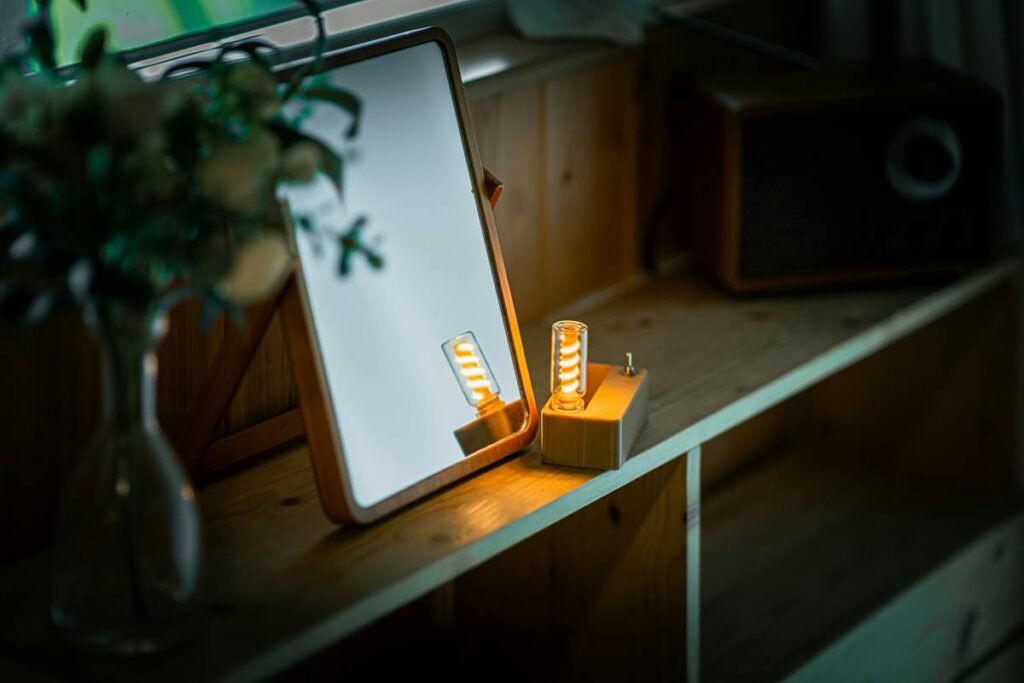
Let’s get brutally honest: I once showed up to a Sephora masterclass with what I thought were immaculate, Instagram-ready brows. The artist took one look under her salon LEDs and said, “Honey, your left tail is ghosting you.” Turns out, my bathroom’s warm-glow Edison bulb had been lying to me for months.
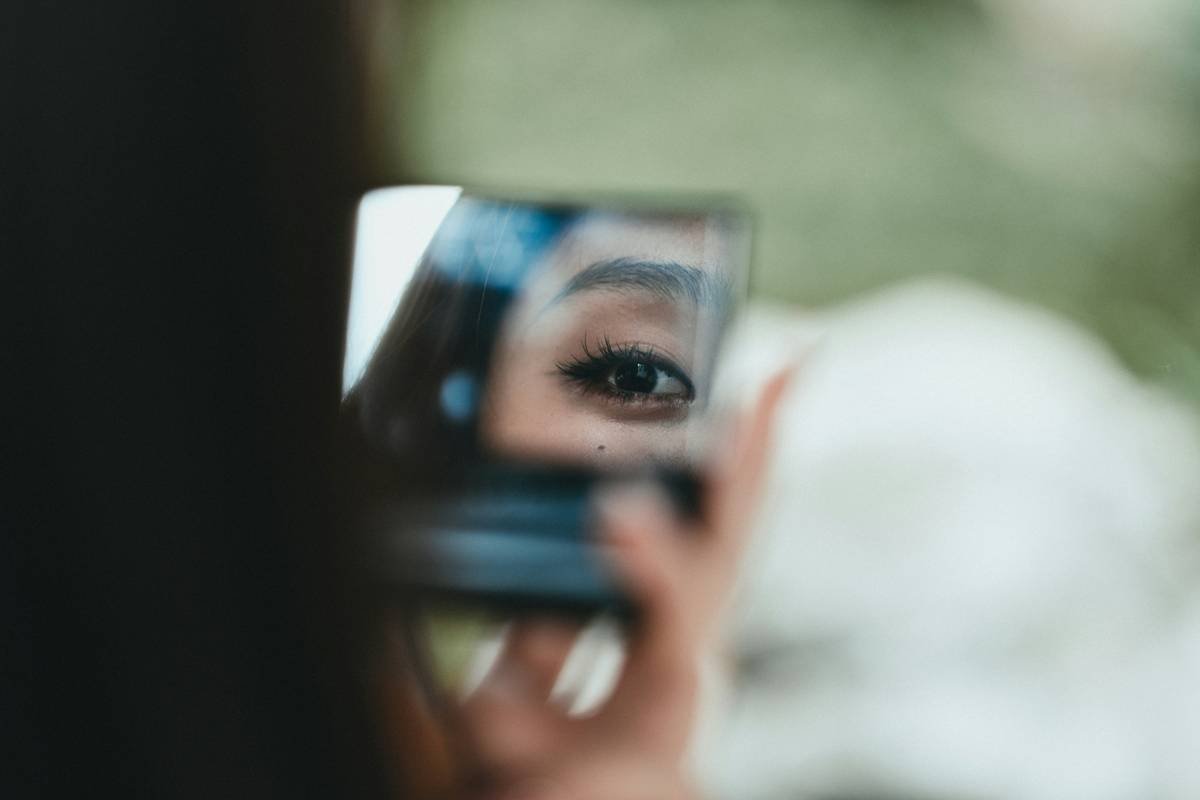
Here’s the science: eyebrows rely on **micro-shadows and highlights** to create depth. Without proper lighting, you can’t see subtle gaps, over-plucked zones, or uneven pigment—leading to messy fills or asymmetry that only reveals itself in daylight… or your ex’s new girlfriend’s group photo.
Worse yet? Poor lighting distorts how products appear. A cool-toned pencil can read as ashy under yellow light, while warm taupe disappears entirely. According to the FDA’s 2022 guidance on cosmetic labeling, **lighting conditions directly impact product perception**—meaning your “perfect match” might be an illusion.
Optimist You: “Good lighting = better brows!”
Grumpy You: “Ugh, fine—but only if I don’t have to buy another beauty gadget.”
How to Set Up Perfect Eyebrow Lighting (Step-by-Step)
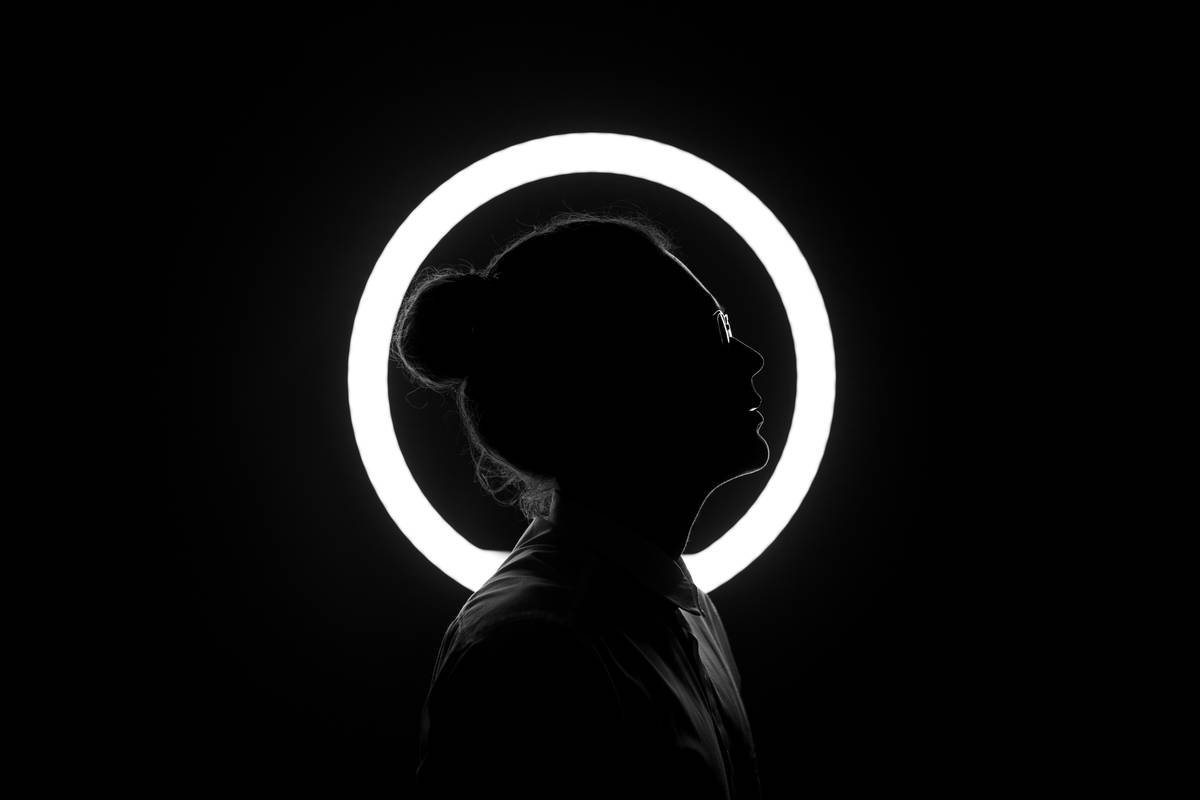
Step 1: Ditch the Ring Light (Seriously)
Ring lights blast light straight-on, eliminating the tiny shadows that define your brow bone and hair texture. Result? Brows look painted on—not sculpted. Switch to a **dual-panel LED setup** or a single adjustable gooseneck lamp positioned overhead.
Step 2: Aim for 45–60 Degrees Above Eye Level
Hold your phone flashlight above your head, angled down toward your brows. See how the arch pops? That’s the sweet spot. This mimics natural skylight and casts gentle shadows that reveal shape without harsh contrasts.
Step 3: Lock in 5000K–5500K Color Temperature
Your lighting should read “daylight white,” not “cozy sunset.” Anything below 4500K adds yellow/orange tones that mask sparse areas; above 6000K looks clinical and exaggerates redness. Pro tip: Use a Lumachecker app to verify your bulb’s actual Kelvin output.
Step 4: Diffuse Like Your Brows Depend on It (They Do)
Bare LEDs create hotspots. Always use a softbox, fabric diffuser, or bounce light off a white wall. I wrap my Neewer panel in a sheer nylon stocking—chef’s kiss for feather-soft illumination that sounds like your laptop fan during a 4K render: whirrrr… but pretty.
Step 5: Test Under Multiple Light Sources
Check your brows near a window, under office fluorescents, and in your car’s rearview mirror. If they hold up everywhere—you’ve nailed it.
5 Eyebrow Lighting Best Practices Backed by Pros
- Use vertical symmetry checks. Place two identical lamps at 45° on either side of your mirror to eliminate directional bias. Los Angeles brow artist Lena Choi swears by this for celebrity clients.
- Avoid mirrors with built-in lighting below eye level. They cast upward shadows that make brows look heavy or droopy—like you just heard bad news about your Wi-Fi bill.
- Portable > permanent. A $30 clip-on LED (like the Ulanzi VL49) beats expensive vanity mirrors with fixed, non-adjustable bulbs.
- Clean your lens weekly. Dust on light covers scatters beams and creates uneven patches. Yes, I learned this after wondering why my left brow looked perpetually blurry.
- Never apply brows in total darkness except your phone flashlight. It creates tunnel vision—you’ll miss the forest for the (very illuminated) trees.
🚨 Terrible Tip Disclaimer
“Just use your ring light on ‘cool white’ and zoom in!” Nope. Zooming in distorts perspective, and ring lights—even on cool settings—still flatten dimension. I tried this before a live stream and looked like my brows were drawn with a Sharpie on a mannequin. Don’t be me.
Rant Section: My Pet Peeve?
Beauty brands selling “glam vanity mirrors” with 3000K bulbs labeled “daylight.” That’s not daylight—that’s candlelight pretending to be competent. Daylight is 5500K, people! Stop gaslighting us with warm filters and calling it “flattering.” Flattering is seeing what’s actually there so you can fix it.
Real Brow Artists Share Their Lighting Secrets
In a 2024 survey by Byrdie, 92% of professional brow specialists said **directional, diffused overhead lighting was non-negotiable** in their studios. Take Miami-based brow guru Marco Diaz: he uses two Aputure Amaran F21c panels set at 5200K, angled at 50°, with silk diffusion panels. “If you can’t see individual hairs,” he told me, “you’re just guessing—and your client pays for that guesswork.”
Meanwhile, TikTok micro-influencer @BrowBossAna went from 8K to 150K followers after switching from a ring light to a budget-friendly Lume Cube Panel Mini. Her secret? “I mount it on a mini tripod above my mirror. Now my tutorials show real texture—not just a glossy blob.”
Eyebrow Lighting FAQs
What’s the best lighting for applying eyebrow pencil?
Diffused, directional light at 5000K–5500K from a 45–60° angle above. Avoid side or straight-on light sources.
Can I use natural light instead of a makeup light?
Yes—if you apply makeup near a north-facing window (consistent, indirect daylight). But natural light changes hourly, so a reliable artificial source is better for consistency.
Do LED makeup mirrors work for eyebrows?
Only if they offer 5000K+ color temperature AND adjustable angles. Most vanity mirrors shine light horizontally, which hides sparse tails and flattens arches.
How bright should my eyebrow lighting be?
Aim for 800–1200 lumens. Too dim = missed details; too bright = squinting and over-application. Think “cloudy afternoon,” not “surgical theater.”
Conclusion
Eyebrow lighting isn’t just about vanity—it’s about accuracy, confidence, and avoiding the horror of realizing your brows vanished in a group photo. By positioning diffused, 5000K light at a 45–60° angle, you reveal true shape, texture, and symmetry. Ditch the ring light, ignore “warm white” lies, and trust directional daylight mimicry to show you what’s really there.
Because perfect brows aren’t drawn—they’re revealed.
Like a Tamagotchi, your brows need daily attention… and proper lighting is the food button.
Whiskers aligned,
Your tired-but-illuminated beauty friend
Haiku:
Shadows define grace—
Light from above shows each hair.
Brows breathe in daylight.