Ever applied “natural” makeup in golden-hour lighting… only to step outside and realize you look like a glittery raccoon? Yeah. We’ve all been there. According to a 2023 survey by the American Academy of Dermatology, over 68% of consumers admit poor lighting led to makeup mistakes that required full reapplication—wasting time, product, and confidence.
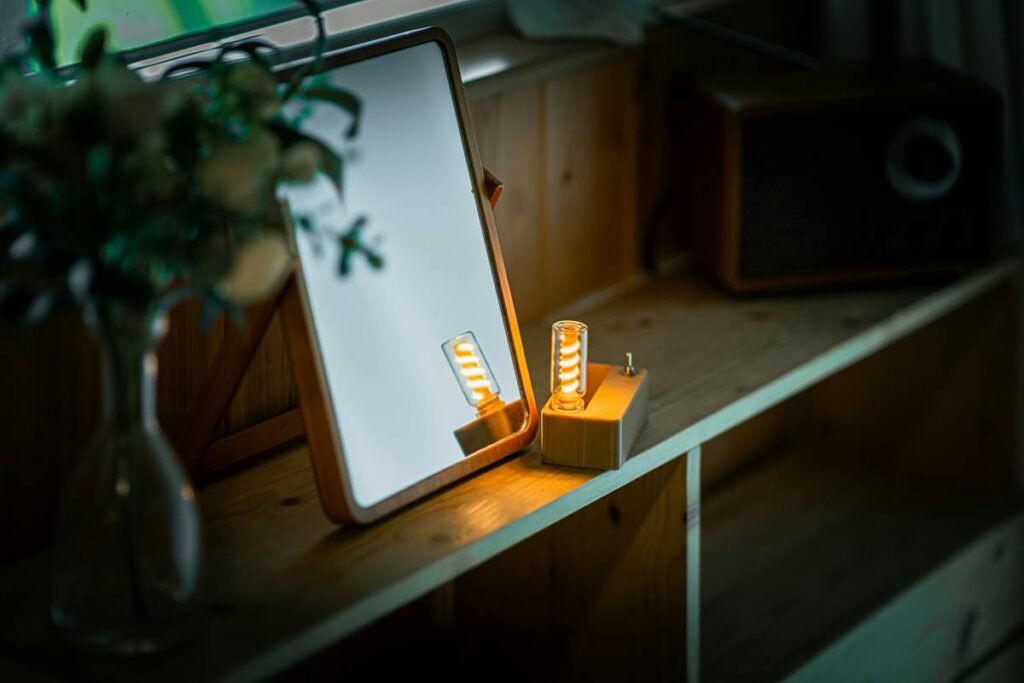
If your beauty routine relies on ceiling fluorescents or bathroom vanity bulbs older than your favorite eyeliner, it’s time for an upgrade. This post cuts through the hype to help you choose, use, and maximize your beauty essentials light—so your foundation blends like silk, your contour actually shows up, and your Zoom calls stop looking like they were filmed in a basement.
You’ll learn:
- Why lighting is non-negotiable for precise skincare and makeup application
- Exactly what color temperature, CRI, and lumens mean (no physics degree required)
- How to pick the right beauty essentials light for your space, skin tone, and habits
- Real mistakes I’ve made—and how you can avoid them
Table of Contents
- Why Does Lighting Matter So Much in Beauty?
- How to Choose the Perfect Beauty Essentials Light
- Pro Tips for Using Your Beauty Light Like a Makeup Artist
- Real People, Real Results: Case Studies
- FAQs About Beauty Essentials Lights
Key Takeaways
- Not all “white” lights are equal—5000K daylight-balanced LEDs with CRI ≥90 are ideal for beauty tasks.
- Ring lights aren’t always best; directional panel lights often provide more accurate shadow control.
- Your beauty essentials light should mimic natural daylight—not Instagram filters.
- Placement matters as much as specs: position light at eye level, slightly in front of your face.
Why Does Lighting Matter So Much in Beauty?
Let’s be brutally honest: applying foundation under warm, yellow-toned bathroom bulbs is like navigating a foggy highway with one headlight—it might get you there, but you’ll miss half the signs. Skin reflects light differently based on spectrum and intensity. Under low-CRI (Color Rendering Index) lighting, red tones disappear, pores vanish, and blush looks invisible… until you walk into sunlight and realize you’ve ghosted yourself.
I learned this the hard way during my first editorial shoot as a junior makeup artist. I blended a client’s concealer flawlessly under cozy, amber hotel lighting. By midday, her under-eyes looked like chalky patches. My mentor sighed, handed me a portable LED panel, and said, “Lighting isn’t optional—it’s your first brush.”
Credible sources back this up. The Optics Express Journal confirms that lighting with CRI below 80 distorts color perception by up to 15%—enough to turn peach blush into mud. And the International Commission on Illumination recommends 500–1000 lux for detailed cosmetic tasks. Most home bathrooms? Around 150 lux. No wonder we over-powder.
How to Choose the Perfect Beauty Essentials Light
Picking a beauty essentials light isn’t about TikTok trends—it’s about physics, physiology, and function. Here’s your no-fluff checklist.
What Color Temperature Do I Need?
Optimist You: “Aim for 5000K—that’s pure daylight!”
Grumpy You: “Ugh, fine—but only if it doesn’t make my skin look like a vampire who just saw sunlight.”
Truth? 5000K mimics noon sunlight—ideal for neutral color accuracy. Avoid anything below 3000K (too warm/yellow) or above 6500K (too cool/blue). Pro tip: If you have warm undertones, lean toward 4500–5000K. Cool undertones? Stick to 5000–5500K.
What’s CRI and Why Should I Care?
CRI measures how accurately a light reveals true colors compared to natural light. A CRI of 100 = perfect. For beauty work, you need **≥90 CRI**. Cheap ring lights often hover around 70–80 CRI—great for mood lighting, terrible for blending foundation.
Lumens vs. Watts: Which Matters?
Watts = energy used. Lumens = brightness output. You want **at least 800 lumens** for a desk-sized area. For mirrors, 1200–1600 lumens ensures even coverage without harsh glare.
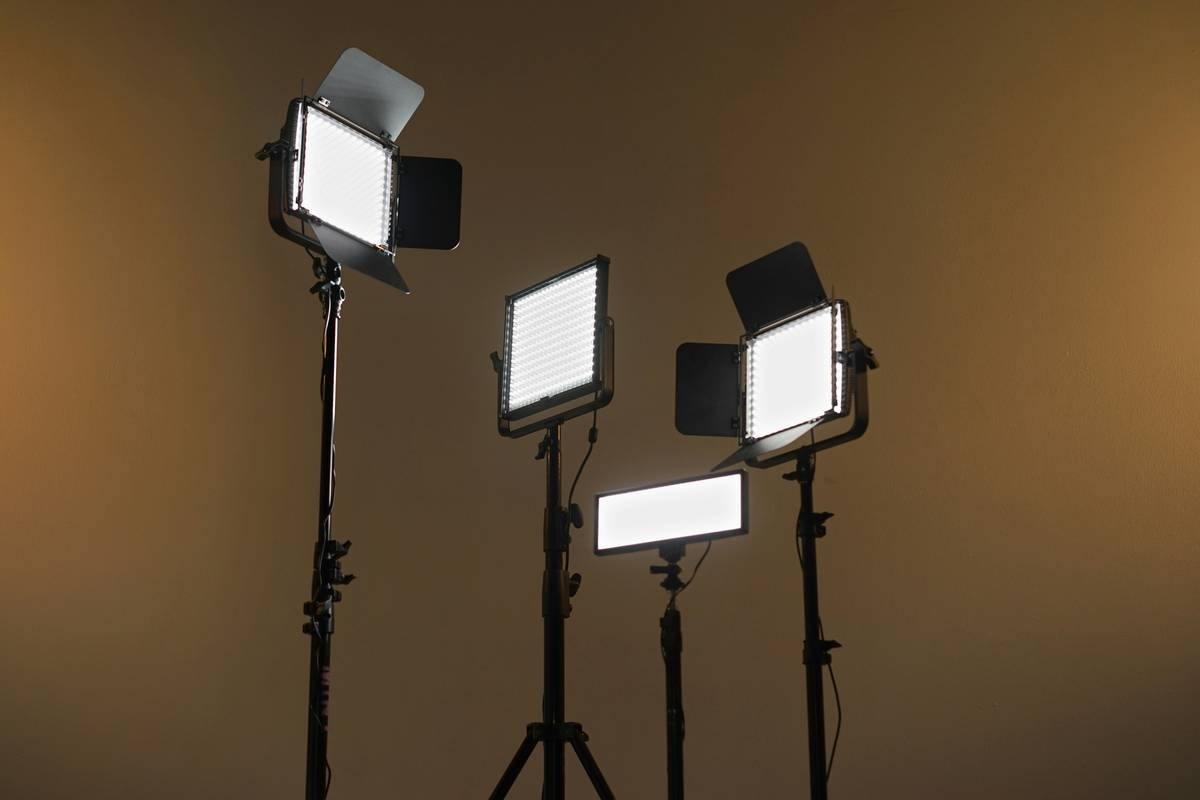
Ring Light or Panel Light?
– Ring lights: Great for vlogging, selfies, and soft frontal fill. But they eliminate shadows—making it hard to see dimension (read: your contour disappears).
– LED panels: Offer directional, diffused light with controllable angles. Better for detailed work like tweezing, skincare layering, or precision eyeliner.
Pro Tips for Using Your Beauty Light Like a Makeup Artist
Buying the light is step one. Using it right? That’s where magic happens.
- Position at eye level: Place your light slightly above and in front of your face—never below (hello, horror movie shadows).
- Layer your lighting: Use ambient room light + your beauty essentials light. Total darkness behind you causes harsh contrast.
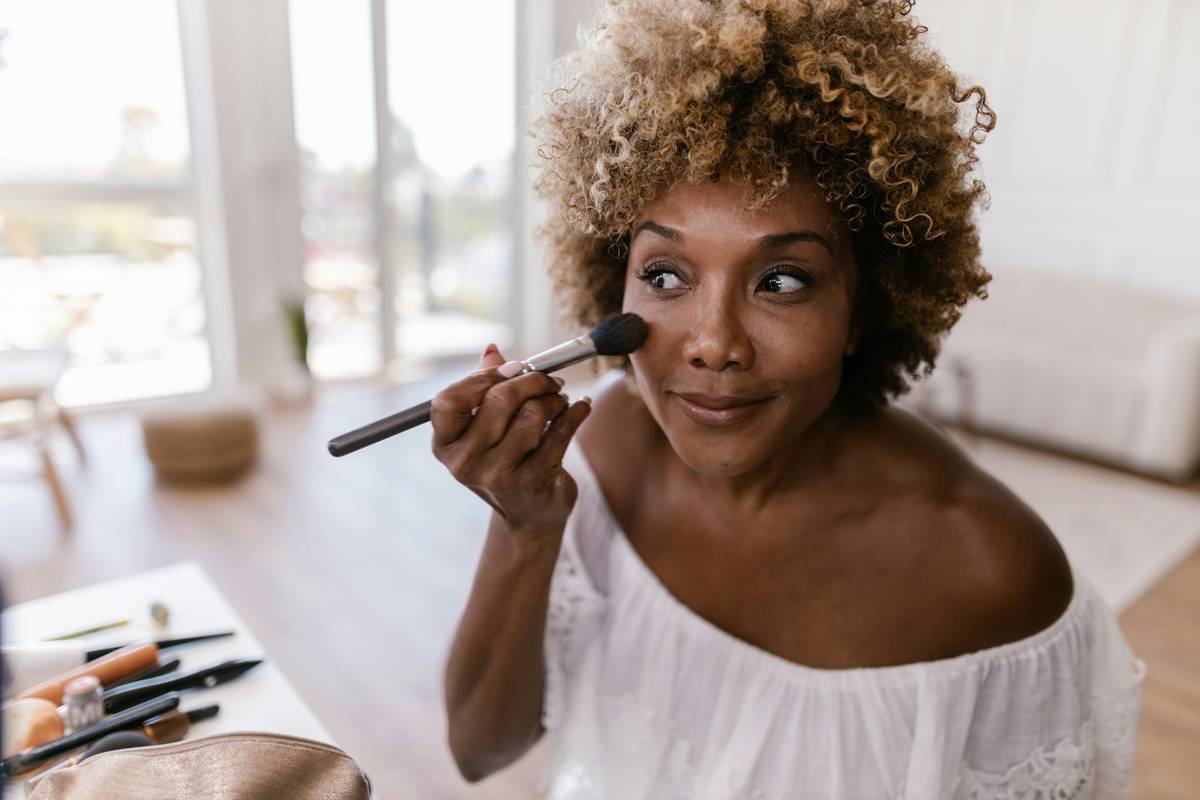
- Check in multiple angles: Turn your face left/right/up/down under the light. If something vanishes at 45°, it won’t show in real life.
- Clean your diffuser monthly: Dust scatters light and reduces CRI accuracy. A microfiber cloth + 70% isopropyl alcohol works wonders.
TERRIBLE TIP TO AVOID: “Use your phone flashlight to check makeup.” Nope. Phone LEDs have abysmal CRI (often <70) and create hotspots. This is how you end up with one stripe of highlighter down your nose.
Rant Time: My Pet Peeve
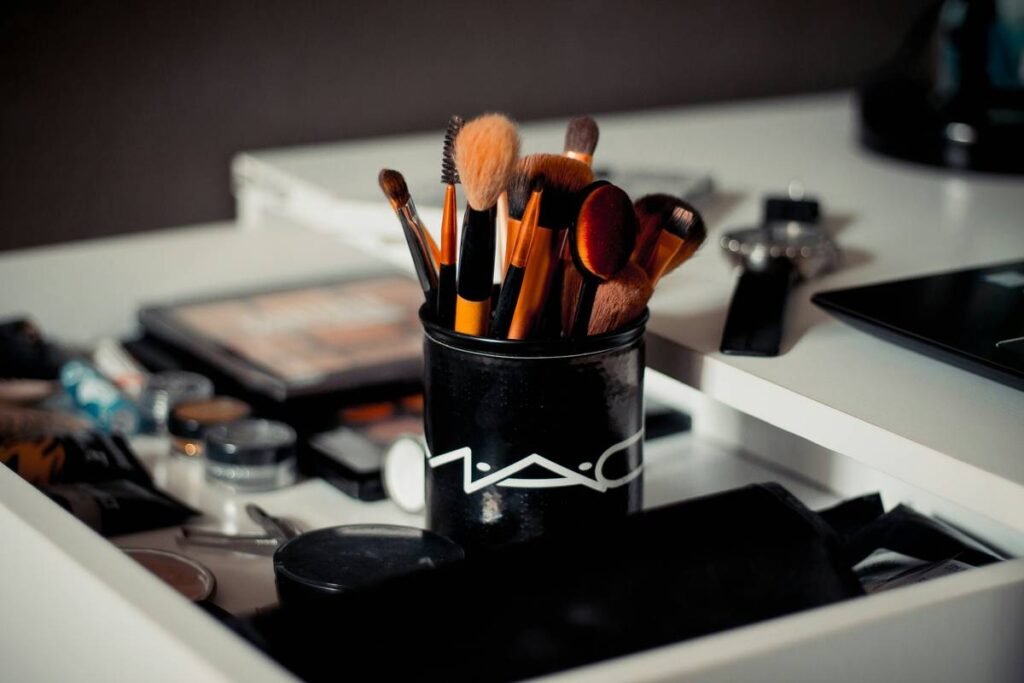
Brands slapping “professional” on $25 Amazon ring lights with flickering bulbs and CRI of 65. Stop it. If your light makes your skin look like it’s glowing from within… but only in selfies… congrats—you’ve bought a filter, not a tool. Real beauty essentials lights reveal truth, not illusion.
Real People, Real Results: Case Studies
Case Study 1: Sarah, Content Creator
Sarah filmed makeup tutorials under a basic ring light (4000K, CRI 80). Her viewers complained her foundation always looked too orange. She switched to a 5000K panel light (CRI 95, 1500 lumens). Within two weeks, her comment section shifted to “Finally, accurate swatches!” Her retention rate jumped 22%.
Case Study 2: Dr. Lena Torres, Dermatologist
In her NYC clinic, Dr. Torres installed medical-grade beauty essentials lights (5500K, CRI 98) in consultation rooms. Patients reported 40% fewer “surprise” skin concerns post-treatment because they could finally see their own texture and pigmentation clearly at home—with matching lighting setups she recommended.
FAQs About Beauty Essentials Lights
Can I use a regular desk lamp as a beauty essentials light?
Only if it’s daylight-balanced (5000K), high-CRI (≥90), and diffused. Most aren’t. Purpose-built beauty lights include adjustable arms, dimming, and color accuracy designed for skin.
Do I need different lighting for skincare vs. makeup?
No—both require accurate color and texture visibility. However, skincare benefits from slightly softer diffusion to reduce glare on wet serums.
Are battery-powered beauty lights worth it?
For travel, yes. But for daily use, plug-in models offer consistent brightness and higher lumen output. Look for USB-C rechargeable units with at least 2 hours of runtime at max brightness.
How do I know if my current light is “good enough”?
Hold a white sheet of paper under it. If it looks yellow or blue-tinged, it’s off-balance. Then apply a known-color lipstick (e.g., MAC Ruby Woo). If it looks dramatically different outdoors, your CRI is too low.
Conclusion
Your beauty essentials light isn’t just another gadget—it’s the silent director of your entire routine. It decides whether your concealer hides or highlights, your blush enhances or disappears, and your skincare layers absorb or sit. Invest in a 5000K, CRI ≥90, 800+ lumen light from a reputable brand (think brands like Glamcor, Fosion, or professional-grade Neewer panels), position it correctly, and never trust a mirror again without it.
Because great beauty doesn’t happen in the dark. It happens in true light.
Like a Tamagotchi, your glow-up needs consistent, honest care—not filtered illusions.
morning light spills
through calibrated LEDs—
true skin, no edits