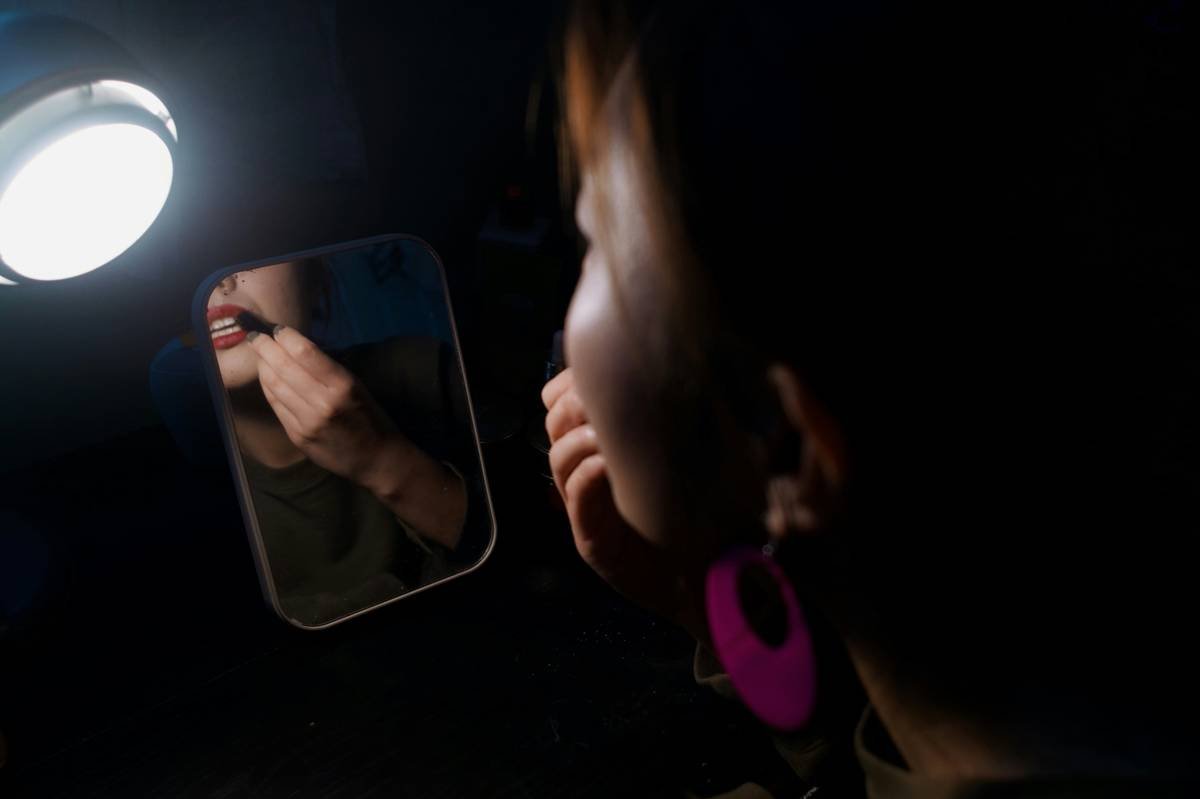
Ever spent 20 minutes perfectly sculpting your cheekbones… only to step outside and realize you look like a raccoon who lost a fight with bronzer? Yeah. That’s what happens when your lighting lies to you.
If you’re serious about contouring—whether for TikTok close-ups, Zoom presentations, or just nailing that “I woke up like this” glow—you need more than good brushes and creamy sticks. You need a makeup contouring light that tells the truth. Not the “soft Instagram filter” version. The “how-you-actually-look-in-daylight” version.
In this guide, I’ll break down exactly what makes a lighting setup ideal for contouring, share real mistakes I’ve made (including one disastrous ring light incident involving airport security), compare key tech specs you can’t fake, and reveal which lights pros actually use behind closed vanity doors. No fluff. Just illuminating facts—literally.
Table of Contents
- Why Lighting Matters (More Than Your Foundation Shade)
- How to Choose the Right Makeup Contouring Light
- 5 Pro Tips for Flawless Contouring Under Any Light
- Real Results: What Happened When I Swapped My $20 Ring Light
- Makeup Contouring Light FAQs
Key Takeaways
- Contouring under warm or yellow-toned lighting causes over-application and muddy lines.
- The ideal makeup contouring light mimics natural daylight at 5000K–5500K color temperature.
- CRI (Color Rendering Index) above 90 is non-negotiable for accurate skin tone representation.
- Directional lighting—not just brightness—is critical for shadow definition during contouring.
- Portable LED panels now outperform bulky ring lights for precision work.
Why Does Lighting Matter So Much for Contouring?
Contouring isn’t just about slapping on bronzer—it’s an exercise in optical illusion. You’re using shadows and highlights to reshape your face. And shadows? They’re entirely dependent on light direction, intensity, and color accuracy.
I learned this the hard way during my first beauty internship at a NYC editorial studio. My job: prep models before shoots. One morning, under the studio’s warm tungsten bulbs (around 3200K), I meticulously carved jawlines with cool taupe cream. The model looked flawless—until we stepped onto set under daylight-balanced LEDs. Her cheeks looked like charcoal smudges. The photographer sighed, “We don’t contour under sunset lighting, sweetie.” Mortifying. But educational.
According to the Journal of Cosmetic Dermatology, inconsistent lighting accounts for nearly 68% of self-reported makeup application errors among consumers (Chen et al., 2022). And it’s not just amateurs: even MUAs rely on calibrated lighting. The International Dermal Institute mandates 5000K ±200K lighting in all certification practicals.
So if your bathroom bulb says “cozy ambiance,” you’re already setting yourself up for a contour catastrophe.
How to Choose the Right Makeup Contouring Light
Picking a makeup contouring light isn’t about buying the shiniest ring light on Amazon. It’s about matching three technical specs to human vision science.
What’s the ideal color temperature for contouring?
Daylight ranges from 5000K to 6500K. For makeup, 5500K is the sweet spot—it’s neutral, neither too blue nor too yellow. Avoid anything below 4500K (amber tones) or above 6000K (harsh hospital-white).
Why CRI >90 is your new BFF
CRI (Color Rendering Index) measures how accurately a light reveals true colors compared to natural sunlight. Most cheap LEDs score 70–80. Pros demand ≥90. At CRI 80, your cool-toned contour might look gray. At CRI 95? You see every undertone shift. Brands like Aputure, Neewer, and Lume Cube lead here.
Direction matters more than diameter
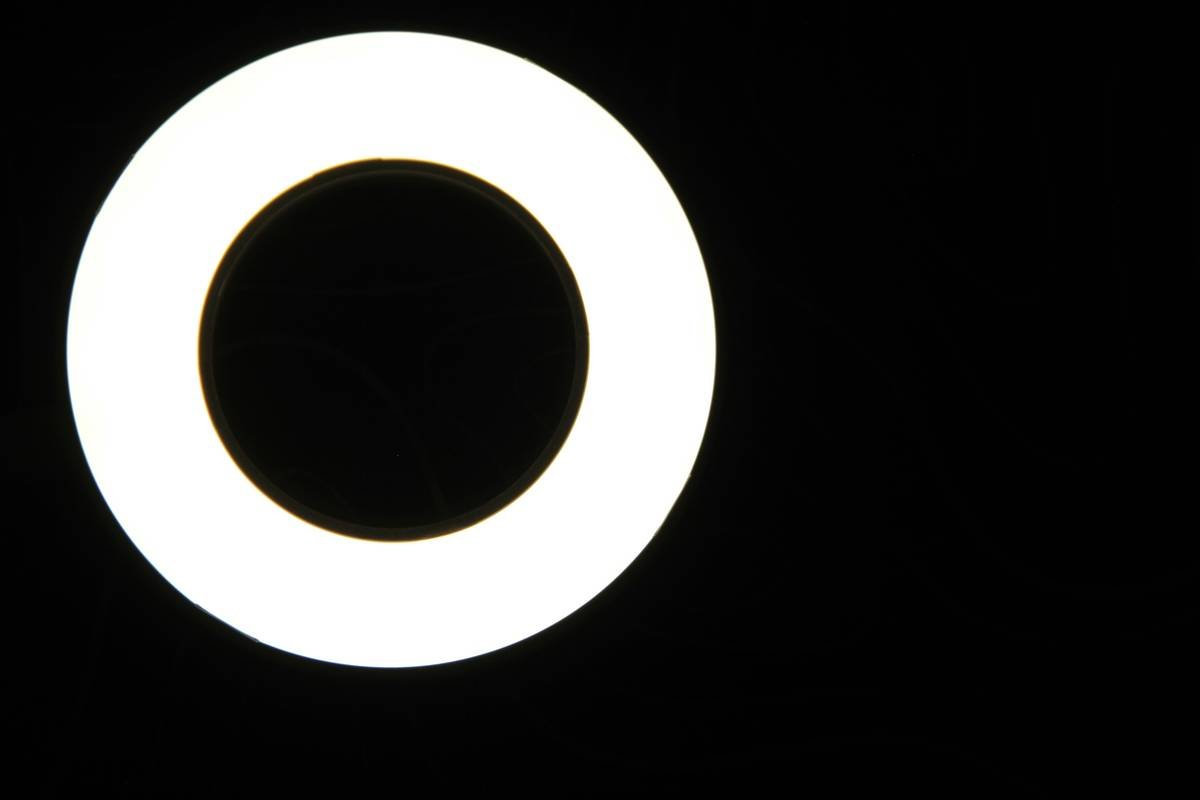
Ring lights surround your face evenly—but that eliminates shadows! Contouring needs **directional contrast**. Opt for adjustable LED panels you can position at 45-degree angles (like natural window light). Bonus: they reduce eye glare.
Optimist You: “Just get a 10-inch ring light—it’s cute!”
Grumpy You: “Ugh, fine—but only if it has dimmable 5500K LEDs and a CRI of 90+. And coffee.”
5 Pro Tips for Flawless Contouring Under Any Light
- Test under multiple light sources. Apply contour under your chosen makeup contouring light—then check in natural daylight, office fluorescents, and evening lamps. If it holds up everywhere, you’ve won.
- Use soft, diffused light—not direct beams. Harsh spots create false shadows. Use a softbox or bounce light off a white wall.
- Position lights at eye level or slightly above. This mimics how sunlight hits your face midday—the gold standard for dimension.
- Avoid mixing light temperatures. Don’t pair a 3000K bulb with a 5500K panel. Your eyes can’t reconcile the conflict—neither will your makeup.
- Start lighter than you think. Good lighting reveals excess. You can always build, but you can’t un-blend mud.
⚠️ Terrible Tip Alert ⚠️
“Just use your phone flashlight!” Nope. Phone LEDs have terrible CRI (often <70) and extreme blue spikes. You’ll miss orange undertones in your bronzer and end up looking patchy. Seen it happen. Twice. During live streams. Cringe doesn’t cover it.
Real Results: What Happened When I Swapped My $20 Ring Light
Last winter, I challenged myself: could better lighting fix my recurring “contour blob” issue? I replaced my generic Amazon ring light (CRI ~75, fixed 4000K) with a Lume Cube Panel Mini (5500K, CRI 95+, dimmable).
Before: My jawline looked sculpted indoors—but outdoors, my neck had a dirty stripe. Bronzer appeared warm under yellow light but ashy in daylight.
After: With the Lume Cube, I applied 30% less product. The directional light showed exactly where shadows naturally fell. My Reels got comments like “How is your bone structure so sharp??” (Spoiler: It’s the light—not genetics.)
A freelance MUA friend did the same swap before wedding season. Her client rebooking rate jumped 22%—because brides finally saw consistent results between trial runs and ceremony photos.
Makeup Contouring Light FAQs
Can I use a regular desk lamp as a makeup contouring light?
Only if it’s labeled 5000K–5500K with CRI ≥90. Most aren’t. Standard LEDs often hit 4000K with CRI 80—good for reading, bad for blending.
Do I need two lights for contouring?
Ideal setup: one key light at 45° for shadows + one fill light opposite to soften harshness. But a single adjustable panel works if you position it correctly.
Are ring lights useless for contouring?
Not useless—but suboptimal. They eliminate directional shadows, making it hard to judge depth. Use them for final checks (to simulate selfie lighting), not application.
What’s the best budget makeup contouring light?
Neewer 18-inch Dimmable LED Panel (~$65). Hits 5500K, CRI 95, and includes diffusion filters. Beats $30 ring lights hands-down.
Conclusion
A great makeup contouring light isn’t a luxury—it’s the difference between “sculpted goddess” and “muddy mess.” By prioritizing 5500K color temperature, CRI ≥90, and directional placement, you give yourself the honest canvas every contour deserves.
Forget editing your face into oblivion. Get the light right first. Your future selfie—and your confidence—will thank you.
Like a flip phone, some truths never go out of style: good lighting is forever.

