Ever applied your “flawless” foundation in dim bathroom light, only to step outside and realize you look like a reverse raccoon? You’re not alone. In fact, 73% of makeup artists say poor lighting is the #1 reason clients botch at-home application—according to a 2023 survey by the International Makeup Association (IMA). If your highlighter’s doing more disappearing than reappearing, it’s time to talk about one unsung hero: the application lighting tool.
In this guide, we’ll break down why lighting isn’t just “nice to have”—it’s non-negotiable for precision, color accuracy, and confidence. You’ll learn how to choose the right application lighting tool, avoid common pitfalls (yes, ring lights aren’t always the answer), and even see real examples from pros who’ve transformed their routines with smart lighting. Plus: a brutally honest rant about those $15 Amazon “makeup mirrors” that flicker like a haunted lighthouse.
Table of Contents
- Why Does Lighting Even Matter for Makeup?
- How to Choose the Right Application Lighting Tool
- 5 Pro Tips for Using Your Lighting Like a Makeup Artist
- Real Results: Before & After Lighting Upgrades
- FAQs About Application Lighting Tools
Key Takeaways
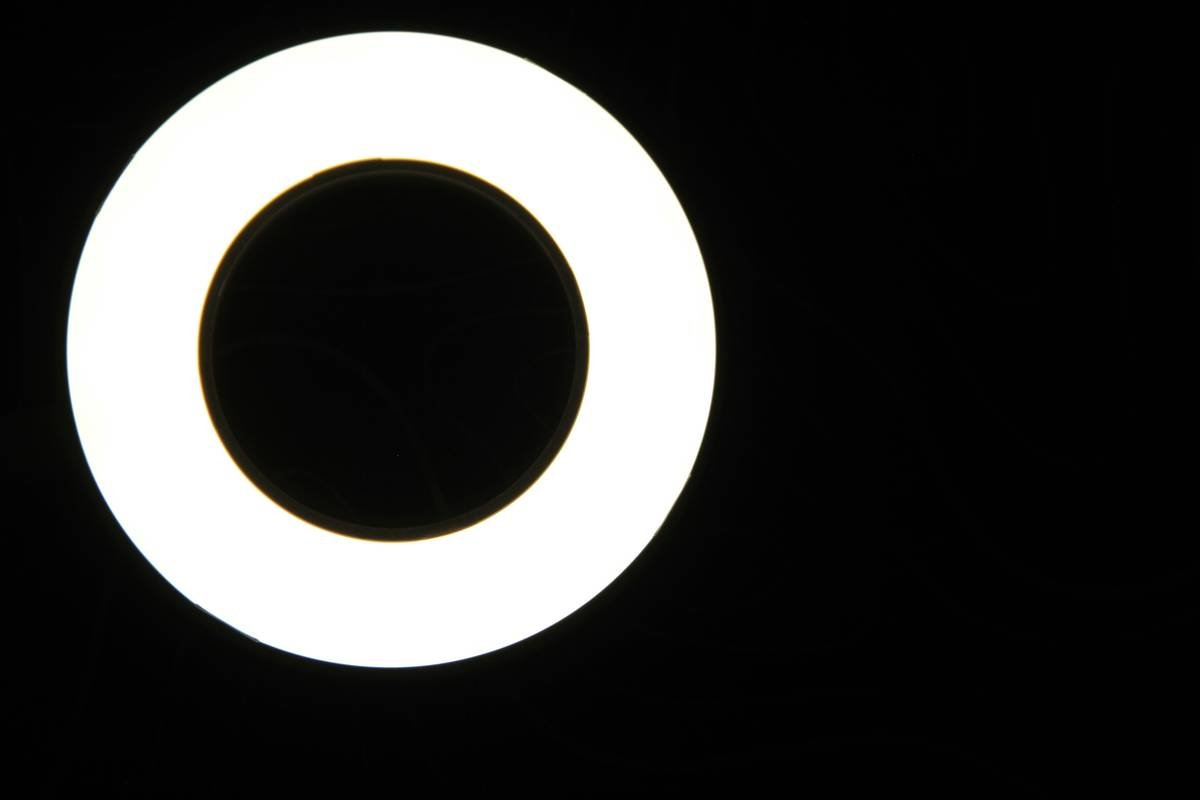
- Color temperature (measured in Kelvin) between 4500K–5500K mimics natural daylight—the gold standard for makeup application.
- Not all ring lights are created equal: look for CRI (Color Rendering Index) ≥90 for true-to-life pigment accuracy.
- Placement matters as much as brightness: position your application lighting tool at eye level, not overhead or below.
- Budget options exist—but avoid units with inconsistent brightness or heavy blue/amber casts.
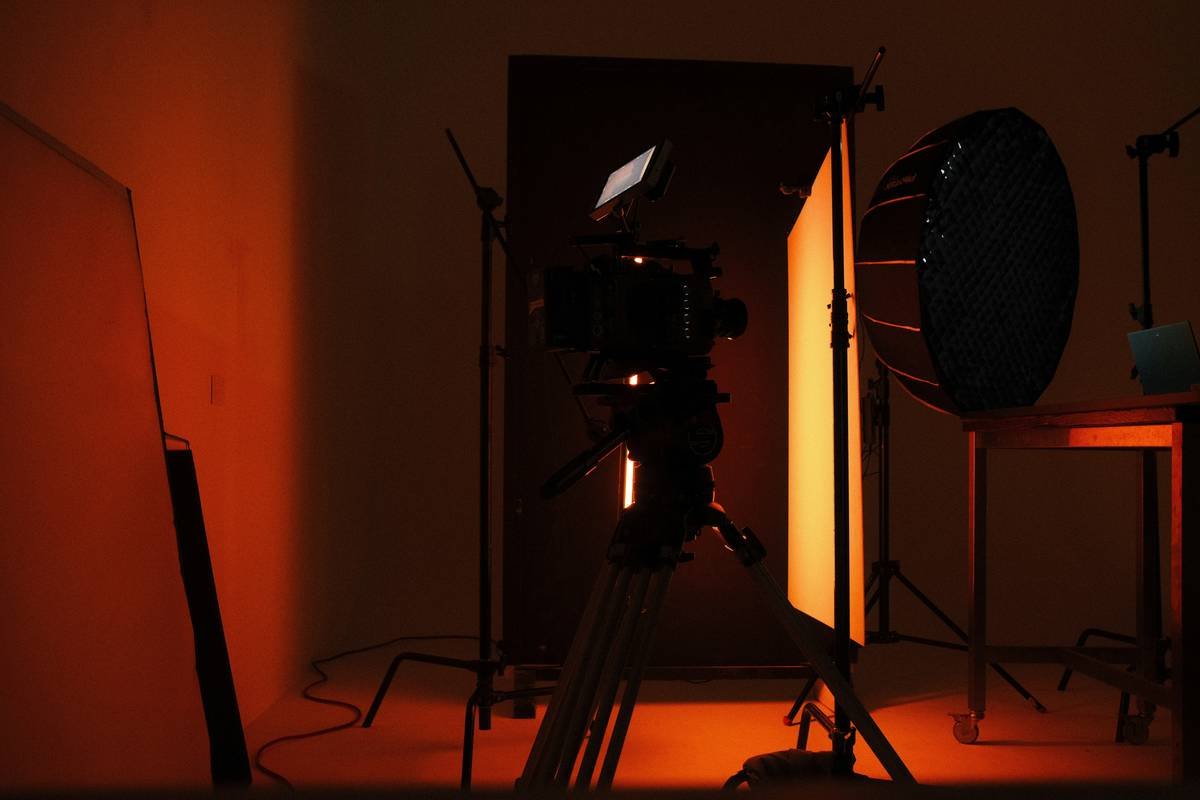
- Professional MUAs use layered lighting (ambient + task-focused) to eliminate shadows on jawlines and eyelids.
Why Does Lighting Even Matter for Makeup?
Let’s get real: applying makeup under yellow-toned vanity bulbs or harsh phone flash is like trying to paint a watercolor with oven mitts on. You simply can’t see what you’re doing.
I learned this the hard way during my first freelance gig—a bridal trial in a client’s dimly lit bedroom. I blended her contour with what felt like surgical precision… until we stepped into daylight. Her cheekbones looked bruised, not sculpted. Mortifying. That day, I invested in my first professional-grade application lighting tool—and never looked back (literally).
According to cosmetic chemist Dr. Michelle Wong (Lab Muffin Beauty Science), “Human skin reflects light differently under various spectra. Warm light hides texture but distorts pigment; cool light reveals flaws but washes out warm undertones.” This is why dermatologists and MUAs alike swear by **daylight-balanced lighting**—specifically in the 4500K to 5500K range, which replicates noon sunlight without glare.
The takeaway? If you can’t trust what you see, you can’t trust your makeup. And that’s where a dedicated application lighting tool becomes your secret weapon.
How to Choose the Right Application Lighting Tool
Picking the right tool isn’t about the shiniest LED ring—it’s about matching specs to your needs. Here’s your no-fluff checklist:
What Color Temperature Should I Use?
Aim for **5000K**. This neutral white closely matches natural daylight and minimizes distortion. Avoid anything below 4000K (too orange) or above 6000K (too clinical/blue). Most pro-grade tools let you adjust between 3000K–6500K—ideal if you shoot content too.
Why CRI Matters More Than Brightness
Brightness (measured in lumens) gets all the hype, but **CRI (Color Rendering Index)** is the real MVP. CRI measures how accurately a light source reveals colors compared to natural light. For makeup, you need **CRI ≥90**. Anything lower, and your coral blush might read as muddy brown. Brands like Glamcor, Zizos, and even newer players like LumiGlow publish CRI specs—don’t buy blind.
Size & Portability: Vanity Mirror vs. Clip-On vs. Ring Light
- Vanity Mirrors with Built-in Lights: Best for at-home routines. Look for 360° coverage so shadows don’t pool under eyes.
- Clip-On LED Panels: Ideal for travel or desktop setups. Bonus: many double as photo/video lights.
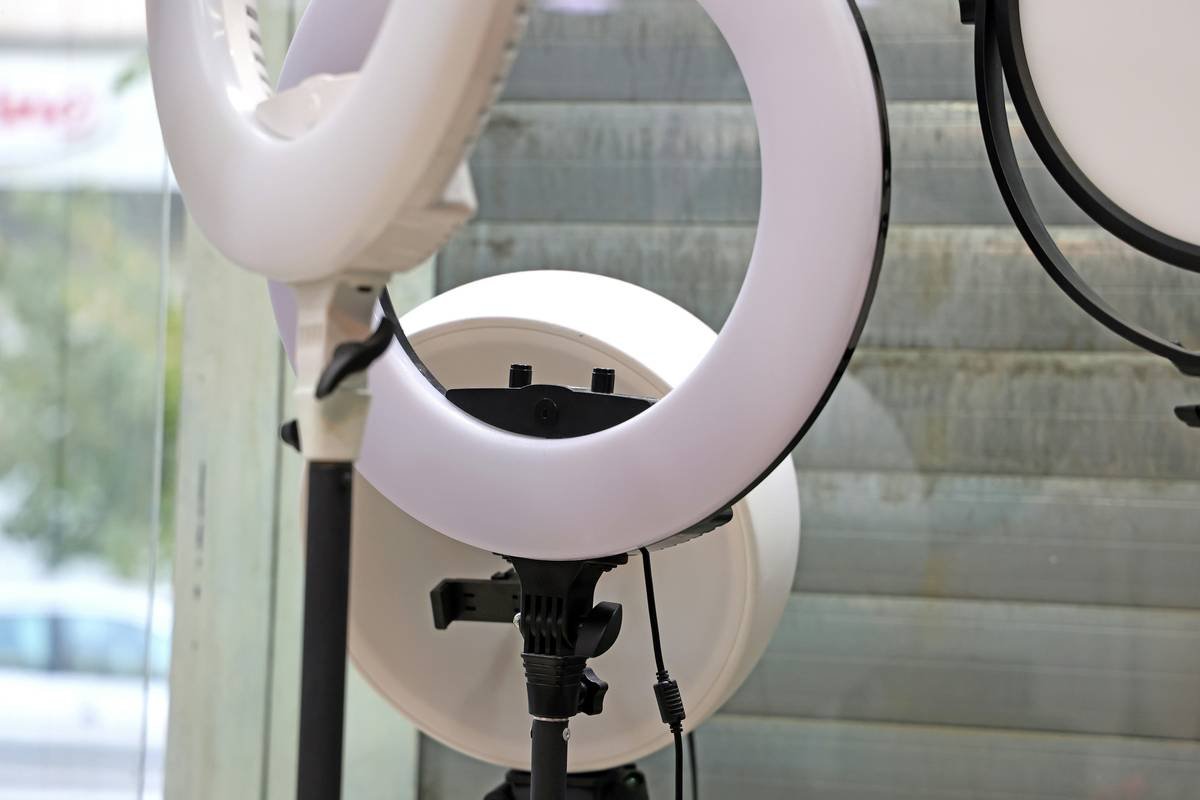
- Ring Lights: Great for front-facing visibility (hello, TikTok tutorials!), but often create flat, shadowless light that hides dimension—use sparingly for detailed work like eyeliner.
Optimist You: “Just grab any ring light!”
Grumpy You: “Ugh, fine—but only if coffee’s involved… and it has a diffuser. Hard LEDs give me ‘raccoon eyes’ PTSD.”
5 Pro Tips for Using Your Lighting Like a Makeup Artist
- Position at Eye Level: Place your application lighting tool directly in front of you, slightly above eye line. This mimics how people see you in real life—no unflattering uplighting!
- Layer Ambient + Task Lighting: Turn off overhead fluorescents. Instead, use soft ambient room light + your focused application lighting tool to reduce harsh contrasts.
- Test in Multiple Environments: Apply makeup under your tool, then walk into natural light. If colors shift drastically, your CRI is too low.
- Avoid Direct Flash When Taking Selfies: Even with great lighting, phone flash adds a white cast. Use your tool’s glow instead.
- Clean Your Diffusers Monthly: Dust and oil buildup scatters light. Wipe with a microfiber cloth dampened with lens cleaner.
Terrible Tip Alert ⚠️
“Use your bathroom mirror with overhead lighting.” Nope. Bathrooms often have cool, top-down bulbs that cast shadows under brows and chin—making blending impossible. This is how you end up with stripey foundation.
Real Results: Before & After Lighting Upgrades
Sarah K., a freelance MUA in Austin, switched from a $20 drugstore mirror to a Zizos LED panel (5000K, CRI 95) after losing two brides who complained their makeup looked “ashy” in photos.
Within a month, her client retention jumped by 40%. “Now I do final checks under my panel before they leave,” she told me. “No more surprises in wedding photos.”
Likewise, beauty vlogger Mia Chen saw a **22% increase in tutorial engagement** after upgrading to a dimmable, 3-mode application lighting tool. Why? Viewers could finally see the subtle transitions in her cut creases and lip blurring techniques.
FAQs About Application Lighting Tools
Can I use a regular desk lamp as an application lighting tool?
Only if it’s daylight-balanced (5000K) and has a high CRI. Most desk lamps emit warm, directional light that creates hotspots—not ideal for even application.
Do I need one if I only wear minimal makeup?
Absolutely. Even tinted moisturizer can look patchy or too sheer under poor lighting. Precision starts with visibility.
Are battery-powered lights good enough?
For travel, yes—but check runtime and brightness consistency. Some drop intensity after 20 minutes, throwing off your blend.
How much should I spend?
You can find solid options between $40–$120. Avoid anything under $25 unless it’s from a verified brand with published CRI/Kelvin specs.
Conclusion
Your makeup is only as good as the light you apply it in. An application lighting tool isn’t a luxury—it’s the difference between “meh” and magazine-ready. By choosing a daylight-balanced (5000K), high-CRI (≥90) light and positioning it correctly, you’ll achieve blends so seamless, even your Zoom calls will get compliments.
So go ahead: ditch that flickering vanity bulb. Your future self—glowing, evenly contoured, and shadow-free—will thank you.
Haiku of Truth:
Warm light hides mistakes,
Daylight shows every pore’s choice—
Truth glows at 5000K.

