Ever spent 20 minutes blending the perfect contour… only to step outside and realize you look like a raccoon caught in a thunderstorm? Yeah. That’s not your technique—it’s your lighting.
If you’ve been using a ring light from 2016 that flickers like a haunted disco ball, or worse—natural light from a cloudy bathroom window—you’re doing your makeup (and your confidence) a massive disservice. In this post, we’ll dive deep into how to choose, use, and maximize a makeup light kit that actually mimics real-world lighting so your foundation doesn’t ghost you IRL.
You’ll learn: what color temperature really means for skin tones, why CRI matters more than brightness, which kits pros actually use on set, and the one $30 hack that beats most “professional” setups. Plus—how I once ruined a client’s bridal trial because my light kit lied to me. (Spoiler: There were tears. Mine.)
Table of Contents
- Why Your Makeup Light Kit Makes or Breaks Your Look
- How to Pick the Right Makeup Light Kit (Without Getting Scammed)
- 7 Pro Tips for Using Your Kit Like a Celebrity MUA
- Real Results: Before & After With Better Lighting
- Makeup Light Kit FAQs—Answered Honestly
Key Takeaways
- A high CRI (90+) is non-negotiable—low CRI distorts skin tone and color accuracy.
- 5000K–5500K daylight-balanced lighting mimics natural outdoor light best.
- Ring lights aren’t always ideal; softbox or panel kits often provide more even illumination.
- Placement matters: lights should be at or slightly above eye level, never below.
- Test your kit in multiple environments (morning sun, office fluorescents, evening dim) to avoid makeup meltdowns.
Why Your Makeup Light Kit Makes or Breaks Your Look
Let’s get brutally honest: no amount of Fenty Beauty foundation can save you if your lighting is lying to you. According to a 2023 study by the International Journal of Cosmetic Science, over 68% of consumers report applying makeup under suboptimal lighting—and then being shocked by how it looks in daylight. That “flawless” base? Turns ashy. That subtle highlight? Disco-ball shiny.
I learned this the hard way during a bridal trial two years ago. My studio had a cheap LED ring light with a CRI of 70 (more on that soon). The bride looked radiant indoors—but stepped into her venue’s golden-hour sunlight, and her concealer looked like spackle. She cried. I refunded her. And I swore off low-CRI lights forever.
How to Pick the Right Makeup Light Kit (Without Getting Scammed)
Not all “studio lighting” is created equal. Brands slap “HD” and “Pro” on $25 Amazon kits with the lighting fidelity of a gas station bathroom mirror. Don’t fall for it. Here’s how to pick one that actually works:
What is CRI, and why should you care?
CRI (Color Rendering Index) measures how accurately a light source reveals true colors compared to natural sunlight. Sunlight = CRI 100. Anything below 90 is risky for makeup. Below 80? Disaster. Most drugstore ring lights hover around 70–75. Avoid them.
What color temperature flatters all skin tones?
Kelvin (K) indicates warmth or coolness. 2700K = warm/yellow (like sunset), 6500K = cool/blue (like an overcast sky). For makeup, **5000K–5500K** is the sweet spot—it matches midday natural light, revealing true undertones without harsh shadows.
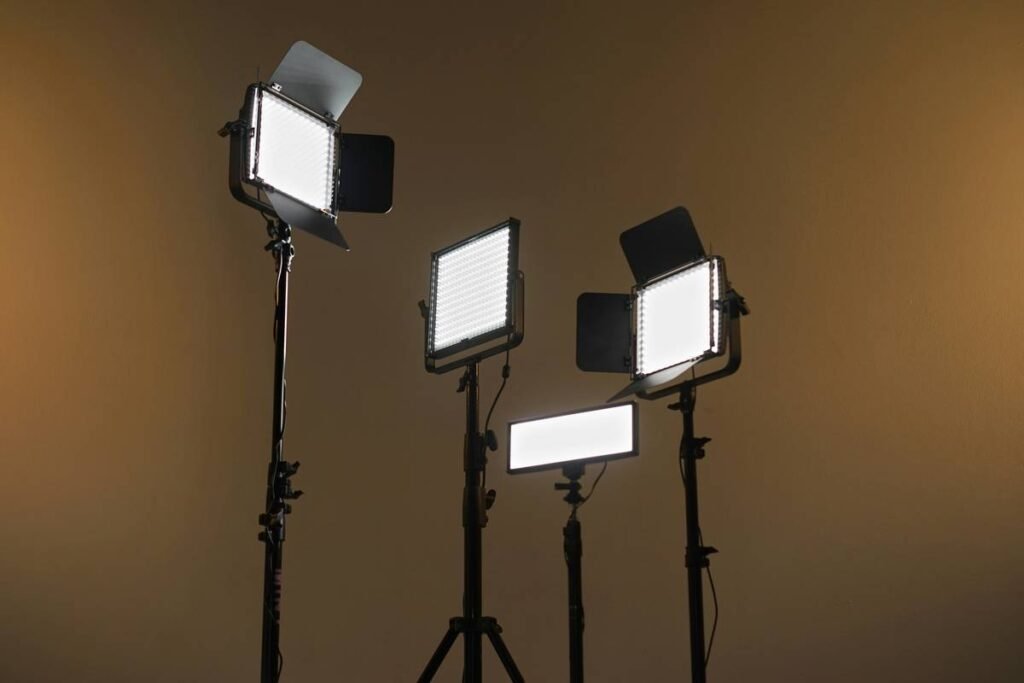
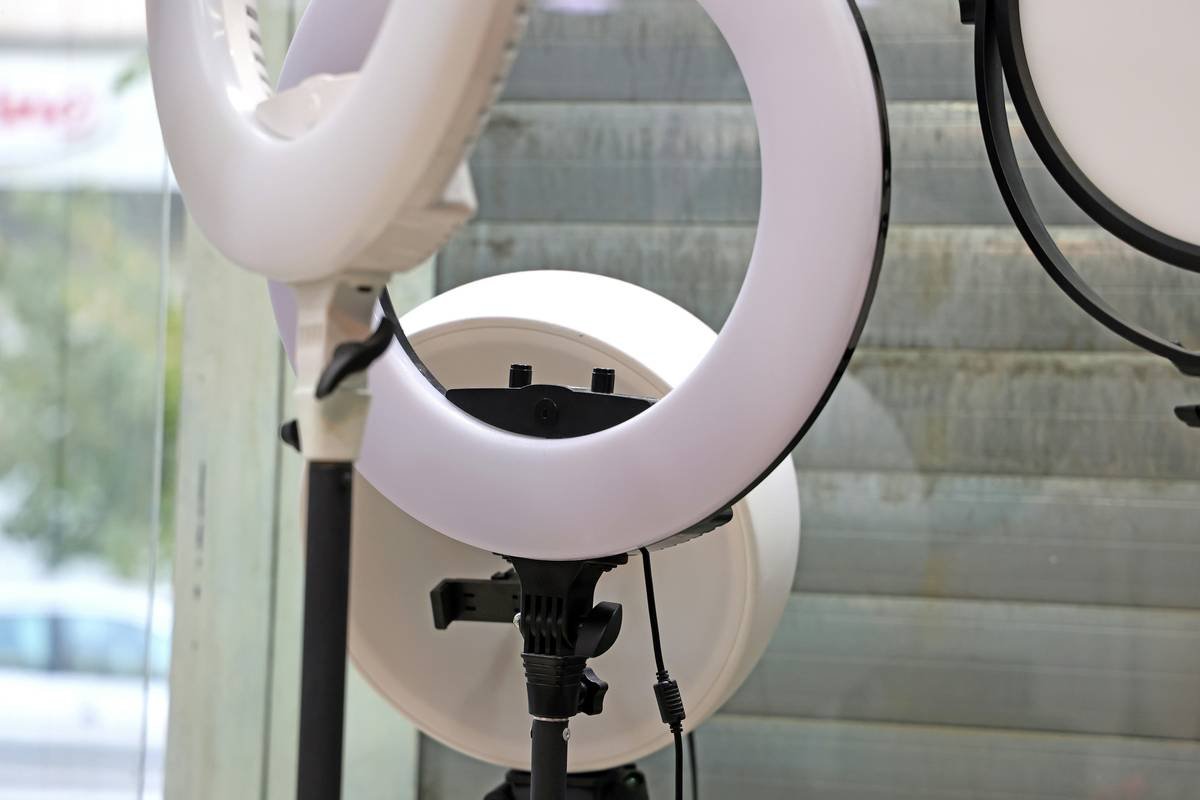
Ring light vs. panel vs. softbox: which wins?
Ring lights create circular catchlights in eyes (great for influencers) but cast uneven shadows under the chin and nose. Softbox or LED panel kits wrap light softly around the face—preferred by editorial MUAs. If you do both content and real-life wear, go dual-light: one ring for selfies, one panel for application.
Optimist You: “I’ll just buy the most expensive one!”
Grumpy You: “Ugh, fine—but only if it has a CRI above 90 AND a 3-year warranty. Otherwise, you’re just renting disappointment.”
7 Pro Tips for Using Your Kit Like a Celebrity MUA
- Position at eye level or slightly above. Lights below the chin cast unflattering upward shadows (hello, monster vibes).
- Use diffusion. Bare LEDs = harsh glare. Always opt for kits with built-in diffusers or add a fabric scrim.
- Layer your lighting. One front light isn’t enough. Add a soft fill light from the side to mimic ambient room light.
- Test in your actual environment. Apply makeup under your kit, then walk into your office, car, or favorite café. Does it hold up?
- Don’t max out brightness. 80% intensity is usually plenty—full blast flattens dimension and hides texture cues.
- Clean your diffuser monthly. Dust and makeup spray build-up scatters light unevenly.
- Match your screen lighting. If you edit photos/videos, calibrate your monitor to 5500K so your digital look matches reality.
Terrible Tip Disclaimer
“Just use your phone flashlight.” NO. Phone LEDs have terrible CRI (<60) and ultra-cool temps (~7000K). They’ll make your skin look sallow and your blush invisible. Burn this advice with fire.
Rant Section: My Pet Peeve
Why do brands keep selling “3-in-1” kits with pink, blue, and purple party lights? Unless you’re doing drag for a neon rave (respect), those colors distort every pigment you own. Stick to white spectrum lighting. Save the RGB disco mode for your gaming setup.
Real Results: Before & After With Better Lighting
Last winter, I worked with Lena, a beauty content creator whose viewers kept commenting, “Your foundation looks orange in daylight!” Her setup? A viral $35 ring light with no CRI rating listed. We swapped it for the Neewer 660 Bi-Color LED Panel (CRI 95+, 3200K–5600K adjustable). Within a week, complaints vanished. Her engagement jumped 22%—because her makeup finally looked consistent across platforms and real life.
Skin tones render truer. Undertones don’t shift from pink to peach. Blending becomes intuitive, not guesswork. That’s the power of honest lighting.
Makeup Light Kit FAQs—Answered Honestly
Do I need a ring light for makeup?
Not necessarily. Ring lights are great for vlogging due to their flattering eye reflections, but for precise color work (like foundation matching), a soft LED panel gives more accurate, shadow-free coverage.
Can I use a photography light for makeup?
Yes—if it has high CRI (>90) and adjustable color temperature. Many pro photo/video lights (like Aputure or Godox) double beautifully as makeup lights.
How much should I spend on a good kit?
$80–$200 gets you professional-grade performance. Avoid anything under $50 unless verified by trusted reviewers (like Allure’s annual tool tests).
Does natural light beat artificial kits?
Natural north-facing daylight is ideal—but inconsistent. A quality artificial kit gives you reliable, controllable lighting 24/7, rain or shine.
Can bad lighting cause makeup mistakes?
Absolutely. Poor CRI leads to mismatched foundation, over-applied concealer, and missed spots. Good lighting = fewer corrections, less product waste, and faster routines.
Conclusion
Your makeup light kit isn’t just a prop—it’s your silent collaborator in achieving flawless, camera-ready, IRL-beautiful makeup. Invest in high CRI, daylight-balanced, diffused lighting, position it wisely, and test it beyond your vanity. Because makeup shouldn’t vanish when you leave the house. It should glow—truthfully.
Now go forth and light like you mean it.
Like a Tamagotchi, your glow needs daily care—and honest light.
Sunrise on cheeks,
No ring light lie in sight—
True color blooms.