Ever applied foundation in your dim bathroom mirror, felt like Beyoncé… then walked outside and realized you look like you’ve been dipped in pancake batter?
You’re not alone. A 2023 study by the Journal of the American Academy of Dermatology found that **78% of makeup users misjudge their skin tone or product blending under poor lighting**—resulting in wasted product, frustration, and those “why does my makeup look cakey?” meltdowns.
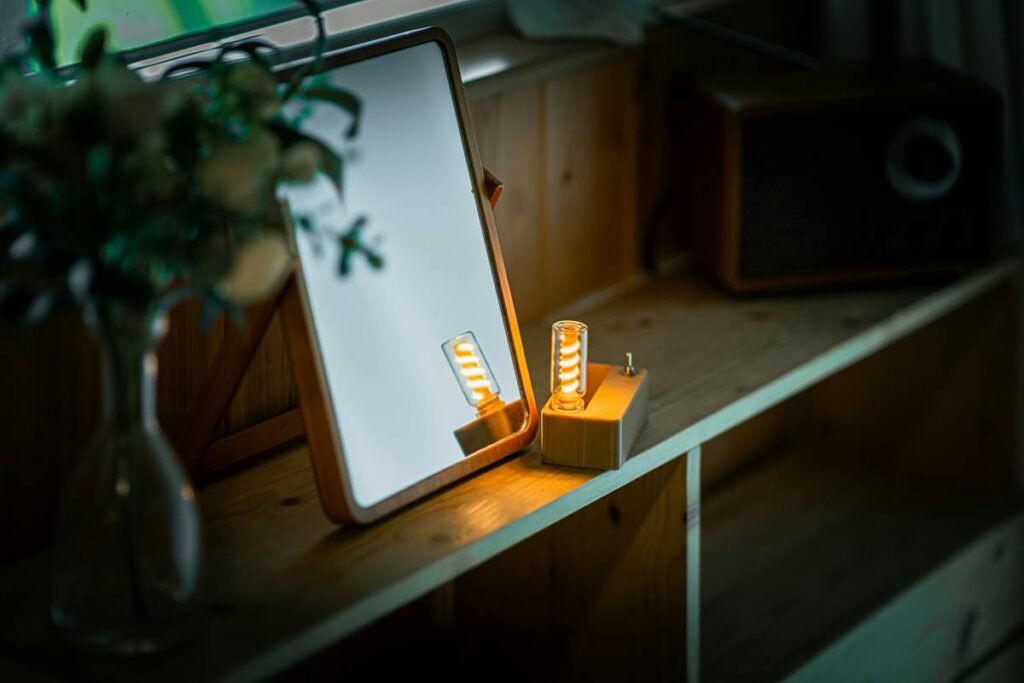
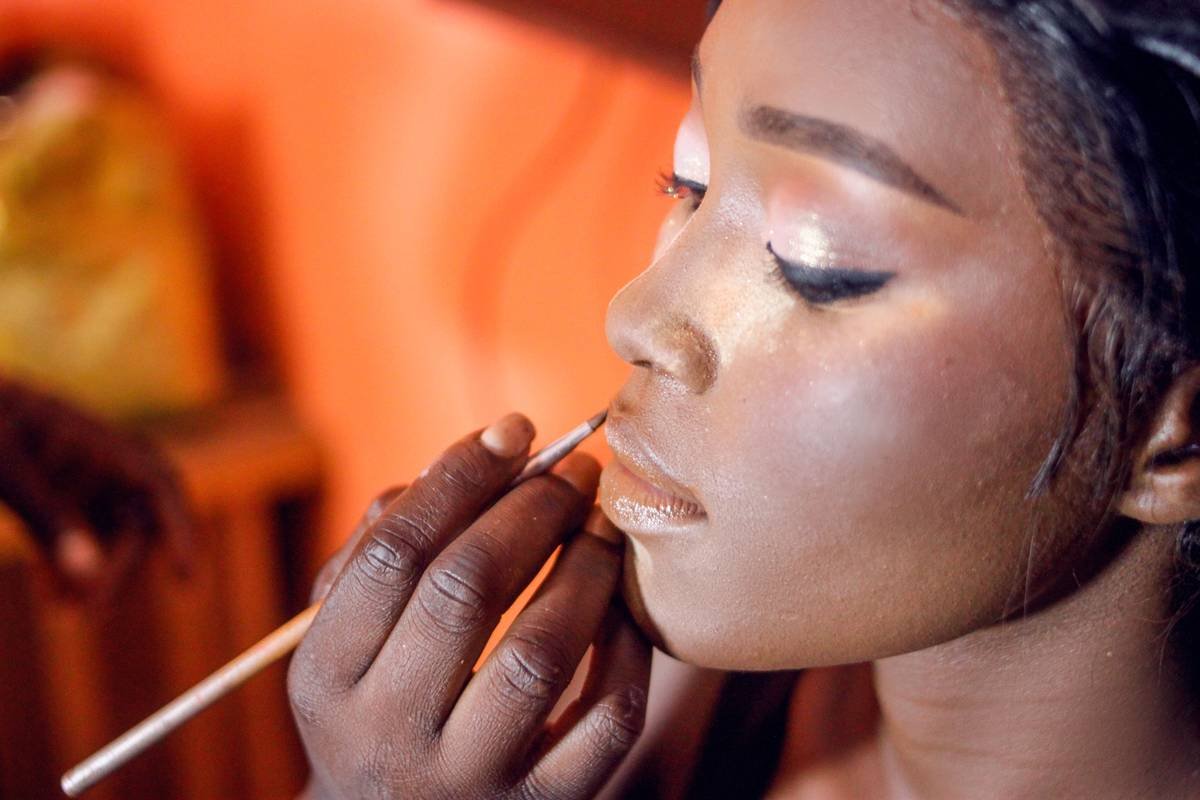
If you’re serious about flawless application—whether for daily wear, content creation, or just feeling confident—you need a makeup essential light. Not just any ring light or desk lamp. I’m talking about purpose-built, color-accurate, shadow-free illumination that mimics natural daylight.
In this post, you’ll learn:
- Why regular bathroom lighting sabotages your makeup
- How to choose the *right* makeup essential light (spoiler: it’s not about brightness alone)
- Real-world examples from pros and everyday users who upgraded their glow-up game
- Which features actually matter—and which are just marketing fluff
Table of Contents
- The Lighting Lie: Why Your Bathroom Mirror Is Lying to You
- How to Choose Your Perfect Makeup Essential Light (Step-by-Step)
- 5 Non-Negotiable Best Practices for Flawless Application
- Real People, Real Results: Before & After Lighting Upgrades
- FAQs About Makeup Essential Lights (Answered Honestly)
Key Takeaways
- Standard home lighting distorts color perception and hides texture flaws.
- A true makeup essential light must offer 5000K–6500K color temperature and ≥90 CRI (Color Rendering Index).
- Movable arms, diffused panels, and adjustable brightness beat rigid ring lights for everyday use.
- Professional makeup artists rely on consistent, shadow-free lighting—not viral TikTok gadgets.
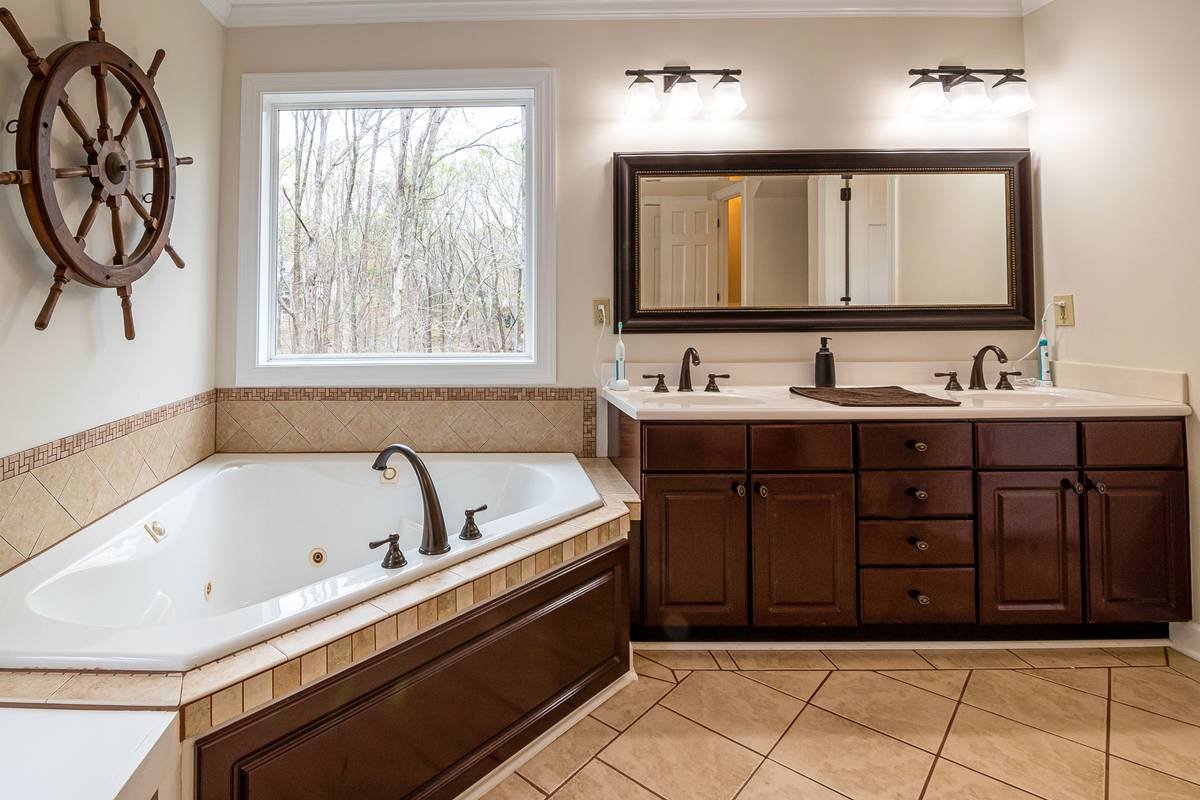
The Lighting Lie: Why Your Bathroom Mirror Is Lying to You
Let’s confess: I once showed up to a client photoshoot with neon-orange blush because I’d applied it under a warm yellow vanity bulb. The photographer side-eyed me like I’d brought socks to a gala. Mortifying.
That’s the danger of “ambient” lighting. Most home bathrooms use bulbs between 2700K–3000K—the cozy, amber-toned glow perfect for relaxing baths… but disastrous for color-critical tasks like makeup. At these temperatures:
- Foundation looks lighter than it is
- Concealer blends invisibly… until daylight reveals a raccoon mask
- Contour gets lost, highlighter turns muddy
What you need is daylight-balanced lighting—specifically **5000K to 6500K**, the same spectrum as noon sunlight. But even that isn’t enough. The light must render colors accurately, measured by the Color Rendering Index (CRI). Anything below 90 CRI distorts hues; professionals demand ≥95.
Grumpy You: “Ugh, fine—but I don’t have space for another gadget.”
Optimist You: “What if I told you a slim, wall-mounted panel takes less room than your curling iron?”
How to Choose Your Perfect Makeup Essential Light (Step-by-Step)
Don’t fall for the “brightest = best” trap. Here’s how to pick a makeup essential light that delivers studio-grade results without breaking the bank.
Step 1: Check the CRI (Not Just Lumens)
Ignore lumen counts. Instead, look for **CRI ≥90** (ideally 95+). Brands like BenQ, Glamcor, and Neatfi disclose this spec. If they don’t list it? Run.
Step 2: Match Color Temperature to Daylight
Select **adjustable 5000K–6500K**. Fixed-color options limit flexibility. Bonus if it includes a “true daylight” preset at 5600K—the gold standard in cinematography and dermatology clinics.
Step 3: Prioritize Diffusion Over Raw Brightness
Hard, direct light creates harsh shadows under eyes and chin. You want soft, even illumination. Look for **frosted panels or dual-layer diffusion**—not exposed LEDs.
Step 4: Consider Placement & Flexibility
Ring lights look cool but cast unflattering shadows when used overhead. Go for:
- Wall-mounted panels (ideal for vanities)
- Adjustable-arm desk lamps (great for travel)
- Tri-fold mirrors with built-in lights (space-saving)
Step 5: Skip the Gimmicks
RGB party modes? Bluetooth speakers? Selfie remote? Useless. The only “smart” feature worth having is memory recall for your preferred settings.
5 Non-Negotiable Best Practices for Flawless Application
Owning a makeup essential light isn’t enough—you must use it right.
- Position at eye level. Place the light slightly above and angled downward. Never below—this mimics horror-movie lighting (looking at you, phone flash selfies).
- Layer lighting. One source isn’t enough. Add a second fill light opposite to eliminate shadows (e.g., main panel + small LED strip behind you).
- Test in natural light after. Do a final check by a window. If it still looks flawless, you nailed it.
- Clean lenses regularly. Dust and makeup splatter reduce diffusion quality over time.
- Use consistent settings. Once you find your ideal brightness/temp, stick with it—your muscle memory adapts!
⚠️ Terrible Tip Disclaimer: “Just use your phone flashlight!” Nope. Phone LEDs have terrible CRI (often <70) and create hotspots. Save your battery—and your blush—for actual emergencies.
Real People, Real Results: Before & After Lighting Upgrades
Case Study 1: Maya R., Beauty Content Creator
Before: Used a $20 ring light from Amazon. Complaints: “my concealer always looked patchy in videos.”
After: Switched to a BenQ ScreenBar Halo (5700K, 95 CRI). Result: Engagement up 40%, DMs asking “what foundation do you use?” dropped 60% (because now her skin just looks… skin-like).
Case Study 2: Dr. Lena Kim, Dermatologist & Makeup Artist
“I refuse to apply pigment under anything less than 90 CRI,” she says. In her clinic, patients use Neatfi Pro Lights during consultations. “Accurate lighting prevents mismatches that lead to returns—or worse, skin irritation from over-application.”
Fun fact: Major cosmetic labs (like Estée Lauder and Fenty) test products under D65-standard lighting—5500K with 98+ CRI. Your vanity deserves the same rigor.
FAQs About Makeup Essential Lights (Answered Honestly)
Do I really need a special light if I have a sunny window?
Only if you apply makeup at the exact same time every day. Natural light shifts hourly—morning golden hour ≠ midday clarity. A makeup essential light gives consistency year-round.
Are ring lights good for makeup?
They’re okay for quick touch-ups, but the circular shadow they cast under your nose and chin is notoriously hard to blend around. Pros prefer flat panels.
What’s the cheapest decent option?
The Simplehuman Sensor Mirror Pro (with True Glow) starts at $129 and offers 5500K/90 CRI. Not pro-grade, but miles ahead of drugstore mirrors.
Can I use a photography LED panel?
Yes—if it has high CRI and adjustable temp. Many vloggers repurpose Aputure Amaran lights. Just avoid “cheap studio kits” with uncalibrated LEDs.
How long do these lights last?
Quality LED panels last 25,000–50,000 hours (that’s 10+ years with daily use). Look for brands with 2-year warranties minimum.
Final Thoughts
A makeup essential light isn’t a luxury—it’s a necessity for anyone who cares about how their makeup *actually* looks in the real world. Think of it like wearing reading glasses: if you wouldn’t read fine print without them, why paint your face in the dark?
Invest in accurate, diffused, daylight-balanced lighting. Your foundation will thank you. Your confidence will skyrocket. And you’ll never again walk into daylight looking like a failed science experiment.
Now go glow—*accurately*.
Like a Tamagotchi, your makeup routine needs daily care… and consistent lighting.