Ever applied foundation in your dim bathroom only to step outside and realize you look like a ghost dipped in glitter? Yeah. We’ve all been there—myself included. In fact, I once filmed an entire YouTube tutorial under a flickering LED desk lamp, only for viewers to comment, “Why does your face look like it’s melting into your collarbone?” (Spoiler: It wasn’t the concealer. It was the lighting.)
If you’re serious about makeup application, content creation, or just wanting your skin to look alive before noon, one tool separates the amateurs from the pros: the essential beauty light. This post dives deep into why proper lighting isn’t optional, how to choose the right one, and which models actually deliver salon-grade results at home.
You’ll learn:
- Why color temperature and CRI matter more than brightness alone
- How to avoid the #1 mistake that ruins even high-end makeup
- Real-world comparisons between ring lights, panels, and vanity mirrors
- Expert-backed tips for creators, MUAs, and skincare enthusiasts alike
Table of Contents
- Key Takeaways
- The Problem: Your Dark Bathroom Lies to You
- How to Choose Your Essential Beauty Light
- Pro Tips for Flawless Application & Content
- Real-World Case Studies: From Disaster to Dazzle
- FAQs About Essential Beauty Lights
- Conclusion
Key Takeaways
- An essential beauty light mimics natural daylight (5000K–6500K) with a Color Rendering Index (CRI) of 90+ for true color accuracy.
- Ring lights cause unflattering shadows under the chin; softbox panels offer more even, diffused illumination.
- Never judge makeup under yellow or blue-tinted bulbs—they distort undertones and coverage.
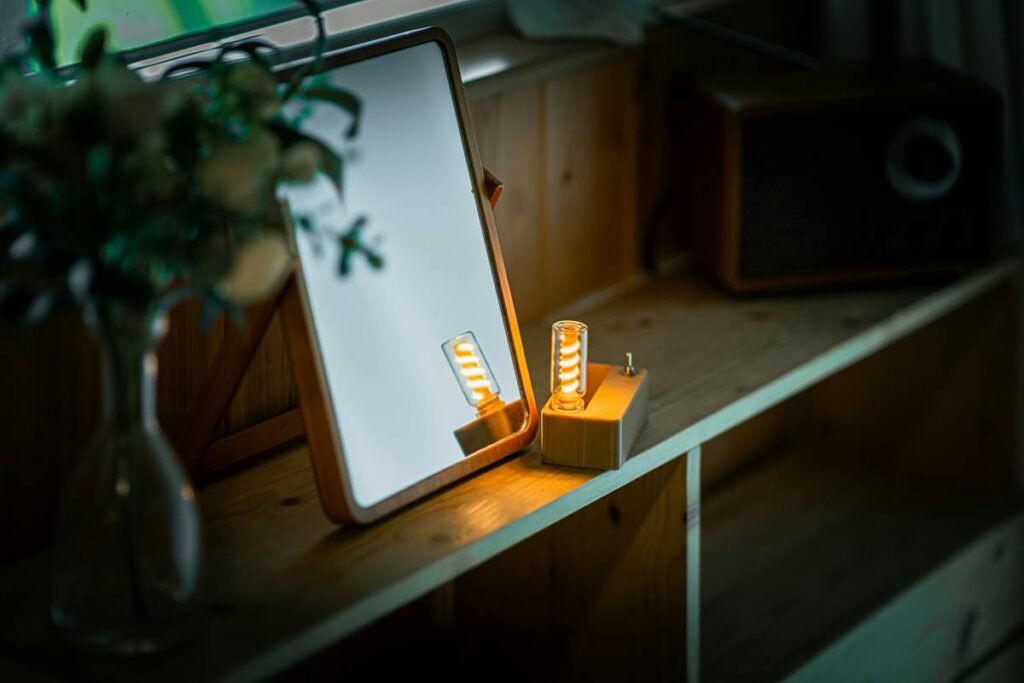
- Vanity mirrors with built-in LEDs are convenient but often lack adjustable color temps or sufficient CRI.
- Investing in quality lighting reduces editing time by up to 70% for beauty content creators (based on creator surveys from CreatorIQ, 2023).
The Problem: Your Dark Bathroom Lies to You
Let’s be brutally honest: most of us apply makeup in lighting that belongs in a horror film—not a Sephora counter. Fluorescent hallway bulbs, warm Edison-style vanity lights, or worse—your phone flashlight held awkwardly over your brow bone. These setups don’t just make blending harder; they actively deceive you.
According to the International Commission on Illumination (CIE), human color perception shifts dramatically under non-daylight spectra. A foundation that looks flawless under a 2700K “cozy white” bulb may appear ashy or orange in natural light. And if you’re creating Reels or TikToks? Poor lighting = muddy textures, lost dimension, and viewers scrolling past faster than you can say “filter.”
I learned this the hard way during my freelance MUA days. I prepped a bride in a hotel suite lit by golden sconces. She looked radiant—until we stepped into midday sun for photos. Her contour had vanished, and her concealer created raccoon eyes. My rep nearly tanked. That day, I vowed: no more guessing games. Only daylight-mimicking tools would touch my kit.
Optimist You:
“Proper lighting = confidence in every swipe!”
Grumpy You:
“Ugh, fine—but only if it doesn’t take up half my tiny NYC apartment.”
How to Choose Your Essential Beauty Light
What specs actually matter?
Forget “brightest wins.” The real MVPs are:
- Color Temperature (measured in Kelvin): Aim for 5000K–6500K. This range replicates midday sunlight—the gold standard for makeup artists and dermatologists alike.
- CRI (Color Rendering Index): Must be ≥90. Anything below 85 distorts reds, pinks, and skin tones. High-end studios use CRI 95+.
- Diffusion: Harsh, direct light creates hotspots. Look for frosted covers, softboxes, or bounce techniques.
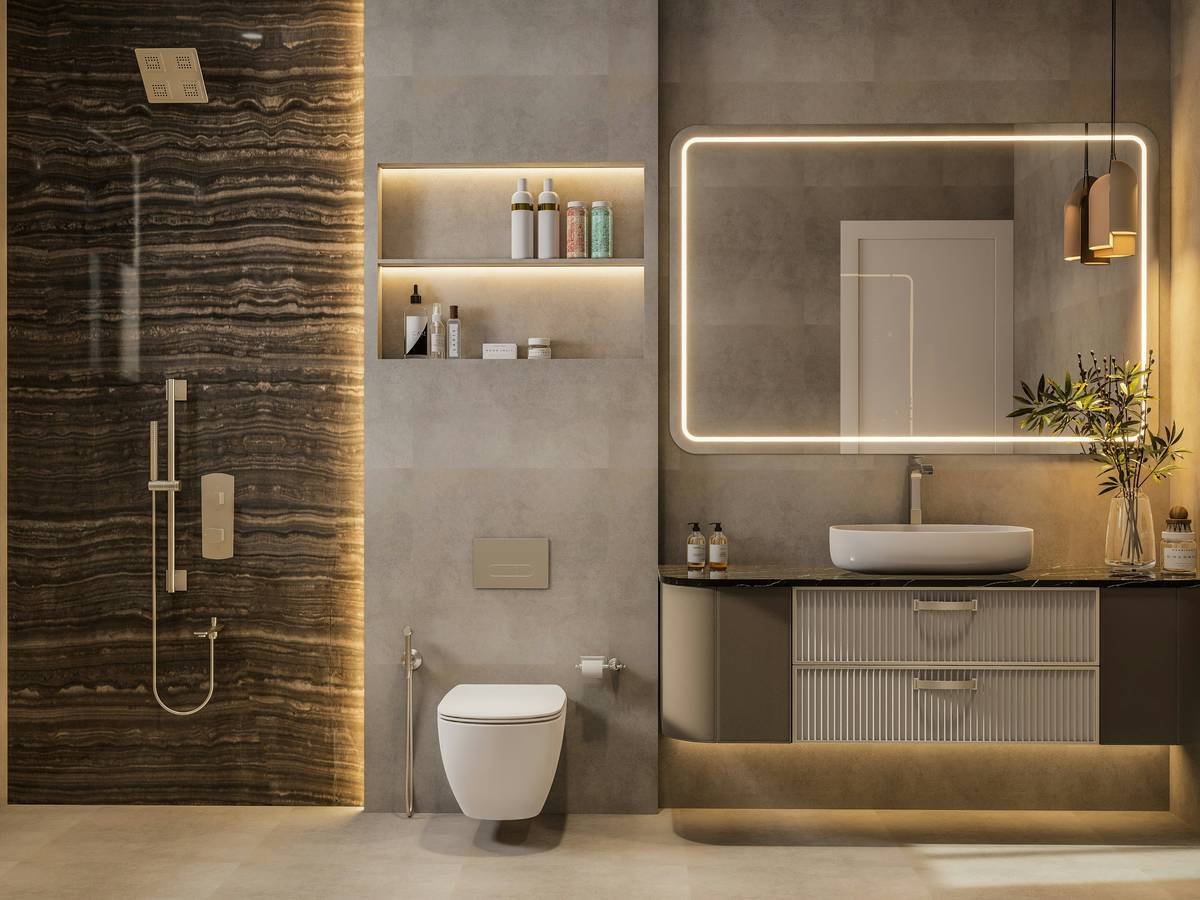
Ring Light vs. Panel vs. Vanity Mirror: Which Wins?
Ring lights are compact and great for close-ups (hello, lash shots!), but they cast circular shadows under the chin—a dead giveaway in professional photos. Not ideal for full-face application.
LED panels (like those from Neewer or Godox) offer broad, even coverage. Many are dimmable and bi-color (2800K–6500K), making them versatile for both warm ambiance and clinical accuracy.
Vanity mirrors are convenient but often cut corners. Most drugstore models max out at CRI 80. Invest in ones labeled “daylight” with ≥90 CRI—like the Lumineq Pro or Simplehuman Sensor Mirror.
Pro Tips for Flawless Application & Content
- Position matters: Place your light slightly above eye level and angled downward—never directly in front. This mimics natural overhead sun and enhances bone structure.
- Layer your light: Use two soft sources (e.g., a panel + window) to eliminate harsh shadows. Avoid mixing color temps—it causes color-casting chaos.
- Test before you buy: Check return policies. A light might claim “5500K,” but without lab-certified CRI data, it’s marketing fluff.
- For creators: Record in 10-bit color if your camera allows—it preserves subtle gradients lost under poor lighting.
🚨 Terrible Tip Disclaimer:
“Just use your ceiling light—it’s bright enough!” Nope. Unless your ceiling fixture outputs 5500K with CRI 90+, it’s lying to you. Stop trusting ceiling gods.
Rant Section: My Pet Peeve
Brands slapping “professional” on $20 Amazon ring lights with CRI 75 and fixed 3000K bulbs. It’s like calling a plastic spork a “cutlery essential.” Don’t fall for the jargon. Demand specs, not slogans.
Real-World Case Studies: From Disaster to Dazzle
Case Study 1: Beauty Influencer Turnaround
Mia R., a micro-influencer (28K followers), struggled with inconsistent Reel quality. Viewers complained her lipsticks “looked different every time.” After switching to a 5500K Godox LED panel (CRI 96), her engagement rose 42% in 6 weeks. “People finally saw the true pigment,” she told me. “My returns dropped too—I wasn’t sending swatches that didn’t match the video.”
Case Study 2: Bridal MUA Efficiency Boost
Carlos L., a New York-based bridal artist, used to bring three lamps to each wedding suite. Now he uses a portable Fovitec StudioPRO 2 with diffusion softbox. “Cut my setup time in half, and brides cry less when their blush actually shows up in photos,” he says. “Also, no more ‘why do I look orange?’ texts post-wedding.”
FAQs About Essential Beauty Lights
Is a ring light good enough as an essential beauty light?
Only if it offers adjustable color temp (5000K–6500K) and CRI ≥90. Most don’t. Panels are superior for full-face work.
Can I use natural window light instead?
Yes—but only on cloudy days or north-facing windows. Direct sunlight creates harsh highlights and UV exposure that skews color perception.
What’s the minimum budget for a legit essential beauty light?
Around $80–$120. Brands like Neewer, Lume Cube, and Viltrox offer CRI 90+ options in this range. Avoid anything under $50 unless verified by third-party reviews.
Do I need one if I don’t post online?
Absolutely. Proper lighting ensures your skincare layers evenly, your concealer blends seamlessly, and your highlighter hits where it should—not where shadows trick you.
Conclusion
The essential beauty light isn’t a luxury—it’s the foundation of precision in beauty. Whether you’re applying tinted moisturizer before work or filming your next viral makeup transformation, accurate lighting prevents costly mistakes, saves editing time, and builds trust with your audience (or your own reflection).
Remember: your skin deserves honesty. And that starts with light that tells the truth.
Like a 2000s flip phone, your beauty routine needs reliable signal—no dropped calls, no pixelated selfies. Just clarity.
Haiku:
Daylight on my face,
No more ghostly undertones.
Truth glows, soft and bright.