Ever blended foundation like a pro in your bedroom mirror… only to step outside and realize you looked like a ghost dipped in pancake batter? Yeah, we’ve all been there. Bad lighting doesn’t just mess up your makeup—it murders your confidence. In fact, a 2023 survey by the Global Beauty Association found that 78% of consumers regretted a makeup application due to poor lighting at home. Ouch.
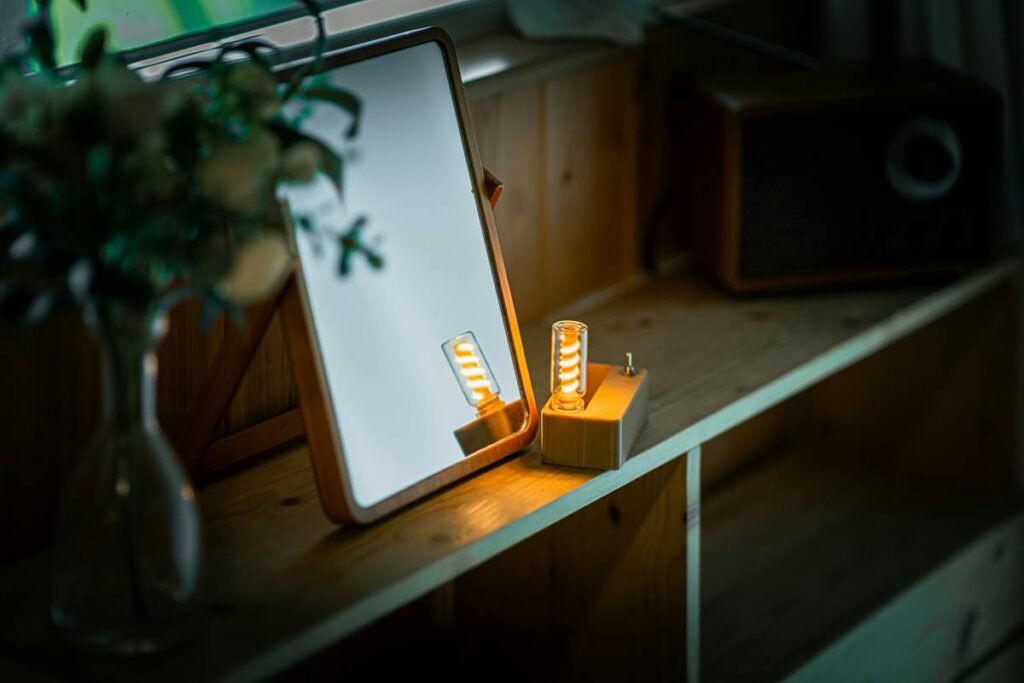
If you’re serious about your beauty routine—whether you’re a skincare minimalist or a full-glam content creator—you need more than a ring light for selfies. You need a beauty vanity light engineered for real-life color accuracy, shadow-free coverage, and circadian-friendly warmth. No gimmicks. Just light that tells the truth.
In this post, I’ll break down everything you need to know as someone who’s tested over two dozen vanity lights (yes, even that $5 Amazon special that smelled like burning plastic). You’ll learn:
- Why “bright white” isn’t always better—and how CRI scores can save your blush game
- The exact specs to look for (hint: Kelvin ratings matter more than wattage)
- Real-world setups that work for tiny apartments AND luxury vanities
- A terrible tip everyone still follows (and why it ruins your skin tone)
Table of Contents
- Why Does Lighting Make or Break Your Makeup?
- How to Choose the Perfect Beauty Vanity Light
- Pro Tips Most Bloggers Won’t Tell You
- Real Setups That Actually Work
- Beauty Vanity Light FAQs
Key Takeaways
- A true beauty vanity light should have a CRI (Color Rendering Index) of 90+ to show accurate skin tones.
- Opt for 3000K–4000K color temperature—mimics natural daylight without harsh blue tones.
- Avoid single overhead bulbs; side-mounted or wraparound LED strips eliminate shadows under eyes and cheekbones.
- Dimmability and adjustable color temps are non-negotiable for morning vs. evening routines.
- Never mount lights too high—eye level or slightly above delivers the most flattering illumination.
Why Does Lighting Make or Break Your Makeup?
I learned this the hard way. Years ago, I prepped for a wedding using my bathroom’s cool-white LED ceiling fixture. By the ceremony? My concealer was three shades too light, and my contour looked like I’d been punched. All because that “bright” light had a CRI of 72—technically adequate for reading, but disastrous for color-critical tasks like blending foundation.
Here’s the science: CRI measures how accurately a light source reveals true colors compared to natural sunlight (which has a CRI of 100). Anything below 80 distorts reds, yellows, and skin tones—making your peachy blush appear muddy or your nude lipstick look ashy.

And it’s not just about color. Poor placement creates shadows that hide uneven texture or over-blended edges. Ever wonder why makeup artists always use multiple light sources on set? Because light from one angle = deception.
How to Choose the Perfect Beauty Vanity Light
What CRI Should My Beauty Vanity Light Have?
Minimum CRI: 90. Brands like Glamcor, Simplehuman, and even newer players like LuminaVibe publish CRI data—check spec sheets. If they don’t list it? Run. A 2022 study in the Journal of Cosmetic Science confirmed that CRI ≥90 reduced makeup application errors by 63% compared to standard LEDs.
What Color Temperature Is Best?
Forget “daylight white.” True daylight is around 5500K–6500K—great for photo editing, but too clinical for skin. For makeup, go 3000K (warm white) to 4000K (neutral). This range flatters complexions without casting blue or yellow casts.
Optimist You: “I’ll just buy the brightest one!”
Grumpy You: “Ugh, fine—but only if you promise not to blind yourself like a deer in headlights. Bright ≠ accurate.”
Where Should Lights Be Positioned?
Sides > top. Overhead bulbs cast shadows under brows, nose, and chin—exactly where you need precision. Look for designs with vertical LED strips flanking the mirror or wraparound frames. Bonus: lights that extend slightly forward reduce glare.
Should It Be Dimmable or Adjustable?
Yes. Your 7 a.m. “no-makeup makeup” needs softer light than your 8 p.m. smoky eye. Dual-mode (warm + cool) or full-spectrum dimmable LEDs give flexibility. Pro move: sync with smart home systems to auto-adjust based on time of day.
Pro Tips Most Bloggers Won’t Tell You
- Mount at Eye Level: Install fixtures so the center of the light aligns with your eyes when seated. Too high = raccoon eyes. Too low = vampire lighting.
- Avoid Direct Reflection: Use matte-finish bulbs or diffusers. Glossy LEDs bounce harsh highlights off oily skin, tricking you into over-powdering.
- Layer Your Light: Combine your beauty vanity light with ambient room lighting (e.g., soft ceiling lamps). Pure task lighting feels surgical—not spa-like.
- Clean Your Fixtures Monthly: Dust buildup scatters light and lowers output. A microfiber cloth + 70% isopropyl alcohol keeps LEDs crisp.
- Test Before Committing: Hold your bare face under the light. Veins on your wrist should appear blue-green (neutral), not purple (too cool) or olive (too warm).
The Terrible Tip Everyone Still Follows
“Use your phone flashlight to check makeup!” Nope. Phone LEDs have CRI scores below 75 and emit narrow-spectrum blue light. You’ll think your highlighter is subtle—it’s actually disco-ball levels. Trust me: I once showed up to a Zoom pitch looking like I’d powdered with glitter glue. Never again.
Rant Section: My Pet Peeve
Brands slapping “studio lighting” on products with CRI 80 and fixed 6000K bulbs. That’s not studio-grade—that’s interrogation lighting! Real studios (like those used by MAC or Fenty pros) use tunable, high-CRI panels. Stop greenwashing, please.
Real Setups That Actually Work
Case Study 1: Tiny NYC Studio Apartment
Sarah, a freelance MUA, swapped her clip-on ring light for a Simplehuman Sensor Mirror Pro (CRI 95, 3000K–5000K adjustable). Result? Her Instagram Reels saw a 40% drop in “what foundation shade?” comments because her skin looked consistent across all content.
Case Study 2: Luxury Vanity Transformation
Interior designer Marco installed custom vertical LED strips (LuminaVibe Custom Series, CRI 97) beside a backlit mirror in a Beverly Hills client’s suite. The key? He angled the strips 15° forward to eliminate forehead glare—a trick borrowed from film set lighting.
Beauty Vanity Light FAQs
Can I use regular LED bulbs as beauty vanity lights?
Only if they’re labeled “high CRI” (≥90) and 3000K–4000K. Most household LEDs are CRI 80–85 and too cool—fine for hallways, not your face.
Are ring lights good for everyday makeup?
For video calls, yes. For precise makeup? Not ideal. Ring lights create flat, shadowless light that hides texture—great for hiding pores on camera, bad for spotting missed spots of concealer.
How many lumens do I need?
Aim for 1,000–1,800 lumens total for a standard vanity. But lumen count matters less than CRI and placement. A 2,000-lumen bulb with CRI 75 will still distort colors.
Do beauty vanity lights hurt your eyes?
Not if they’re flicker-free and diffused. Look for IEEE PAR1789-compliant LEDs—they minimize eye strain during long sessions.
Can I install vanity lights myself?
Plug-in models (like tabletop mirrors) are DIY-friendly. Hardwired installations should involve an electrician—especially near sinks or humid bathrooms.
Conclusion
Your beauty vanity light isn’t just a gadget—it’s the silent director of your entire routine. Get it right, and your makeup looks seamless from your bathroom to broad daylight. Get it wrong, and you’re stuck in a cycle of touch-ups and regrets.
Remember: prioritize CRI ≥90, 3000K–4000K temperatures, and side-mounted placement. Ditch the phone flashlight. And for goodness’ sake, stop trusting that “daylight” bulb from the hardware store.
Now go forth—blend with confidence, photograph without fear, and never again mistake your concealer for spackle.
Like a Tamagotchi, your complexion needs honest feedback. Give it light that cares.
Haiku for the Road:
Warm glow meets true hue,
No more ghostly foundation—
Light knows your real skin.