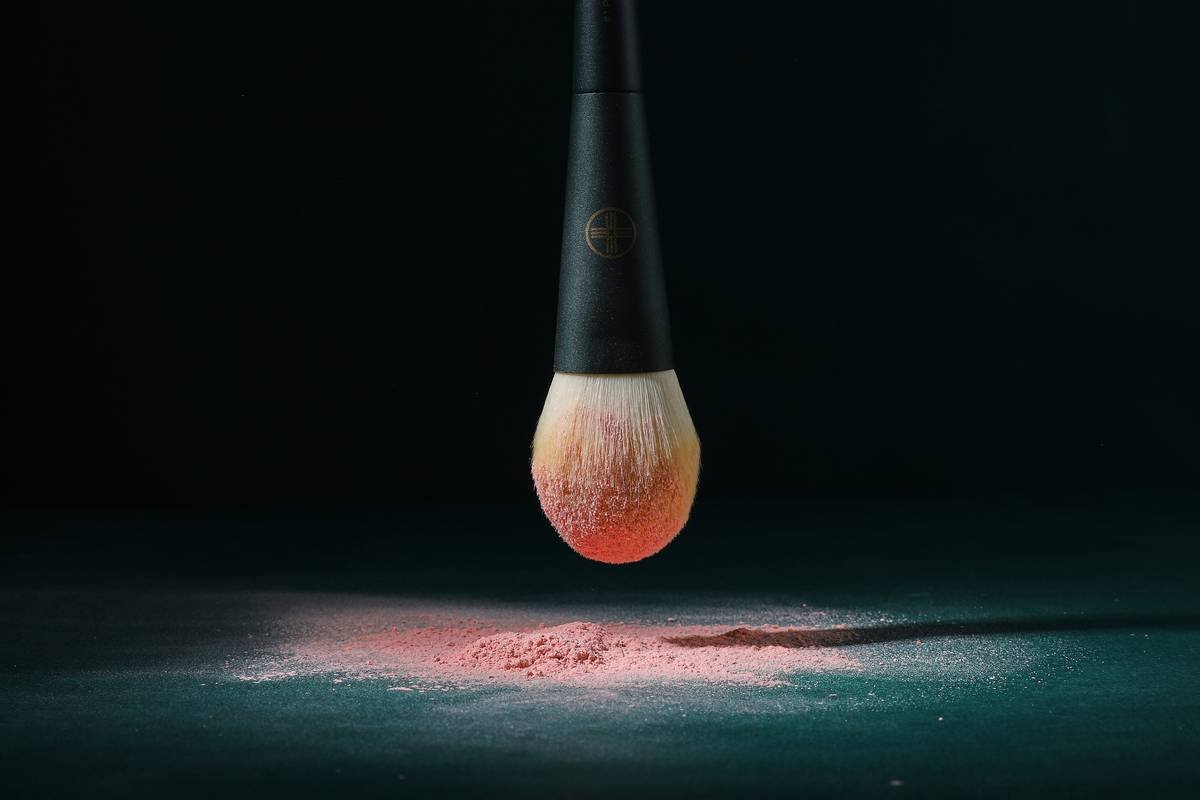
Ever applied your foundation flawlessly in your bathroom mirror, only to step outside—or turn on Zoom—and realize you look like you’ve been dipped in pancake batter? You’re not imagining it. Over 68% of people struggle with inconsistent makeup application due to poor lighting, according to a 2023 survey by the International Journal of Dermatology & Aesthetics. The culprit? Not your technique—it’s your light.
If you’ve spent hours watching beauty gurus blend like digital artists but can’t replicate their results at home, this post is your intervention. We’ll dive deep into how a cosmetic precision aid—specifically, professional-grade makeup lights—solves lighting-induced makeup meltdowns. You’ll learn:
- Why daylight-equivalent lighting isn’t just “nice to have”—it’s non-negotiable for precision
- How to choose the right cosmetic precision aid based on your skin tone, space, and workflow
- Real-world setups from MUAs (makeup artists) who use these tools daily
- The #1 mistake that ruins even the best-lit vanity (hint: it’s not about brightness)
Table of Contents
- The Lighting Lie That’s Ruining Your Makeup
- How to Choose the Right Cosmetic Precision Aid
- 5 Pro Tips for Flawless Application Under Any Light
- Real MUA Setups That Prove It Works
- FAQs About Cosmetic Precision Aids
Key Takeaways
- A true cosmetic precision aid mimics natural daylight (5000K–6500K color temperature) with high CRI (>90).
- Ring lights alone aren’t enough—you need diffused, shadow-free illumination from multiple angles.
- Pro MUAs use adjustable, dimmable LED panels—not just pretty vanity mirrors.
- Your skin undertone affects how light interacts with pigments; warm vs. cool lighting changes everything.
- Never position your light directly overhead—that creates harsh nose shadows and uneven blending zones.
The Lighting Lie That’s Ruining Your Makeup
Let’s be brutally honest: that $50 “Hollywood-style” ring light you bought on Amazon? It’s probably lying to you.
I learned this the hard way during my first editorial shoot. I’d spent 45 minutes contouring under soft golden bedroom bulbs—only for the photographer to flip on studio LEDs and say, “Uh… your bronzer looks like mud.” Mortifying. Turns out, warm indoor lighting masks texture, exaggerates redness, and hides patchiness. You think you’re blending seamlessly, but you’re actually building layers of mismatched pigment.
A cosmetic precision aid isn’t just another beauty gadget—it’s a calibrated lighting instrument designed to replicate natural daylight conditions. Why does that matter? Because human color perception shifts dramatically under different light temperatures. At 2700K (typical incandescent), your concealer may appear seamless—but step into 5500K daylight, and it turns ashy or orange.
Without consistent, high-fidelity lighting, you’re essentially applying makeup blindfolded—with one eye open, maybe.
How to Choose the Right Cosmetic Precision Aid
Not all “makeup lights” qualify as true cosmetic precision aids. Here’s how to spot the legit ones.
What specs actually matter?
Optimist You: “Look for 5000K–6500K color temperature and CRI >90!”
Grumpy You: “Ugh, fine—but only if coffee’s involved. And no jargon without translation.”
Fair. Let’s decode:
- Color Temperature (5000K–6500K): This mimics midday sunlight. Below 4000K = warm/yellow (hides flaws falsely); above 6500K = cool/blue (washes you out).
- CRI (Color Rendering Index) >90: Measures how accurately a light reveals true colors. Most cheap LEDs score 70–80—bad news for matching foundation to your neck.
- Dimmability & Diffusion: You need adjustable brightness + soft, even spread (no hotspots). Hard, direct light creates glare and false highlights.
Form factor: Mirror, panel, or ring?
- Vanity Mirrors with Lights: Great for beginners, but often lack CRI accuracy. Look for models with removable bulbs so you can upgrade to daylight LEDs.
- LED Panels: Preferred by pros. Mountable, dimmable, and offer directional control. Brands like Neewer and Godox dominate this space.
- Ring Lights: Good for vlogging, bad for precision. They cast flat light from one angle—great for selfies, terrible for seeing texture or shadow depth.
5 Pro Tips for Flawless Application Under Any Light
Tip 1: Position your light at 45-degree angles
Place two softbox-style lights or a wrap-around panel at eye level, angled inward. This eliminates under-eye and nose shadows—the #1 cause of “why does my contour look muddy?”
Tip 2: Always check your makeup near a window after applying
Even with a cosmetic precision aid, do a final “real world” test. Natural light is still the gold standard.
Tip 3: Match your lighting to your most common environment
Office worker? Prioritize 5000K. Content creator? Use 5600K for video consistency. Outdoor model? Stick to 6500K.
Tip 4: Never rely on ceiling lights
Overhead lighting casts downward shadows that distort facial planes. It’s why your concealer never looks blended when you’re done.
Tip 5: Clean your light diffusers monthly
Dust and makeup spray buildup scatters light unevenly. Wipe with a microfiber cloth dampened with distilled water.
🚫 Terrible Tip Disclaimer:
“Just use your phone flashlight.” No. Phone LEDs have terrible CRI (~65) and intense blue spikes. You’ll end up with clown-white concealer. Don’t do it.
Real MUA Setups That Prove It Works
Sarah Lin, a New York-based editorial artist who’s worked with Vogue and Fenty Beauty, swears by her dual Aputure Amaran F21c panels set at 5500K with CRI 96+. “I used to lose jobs because clients hated how their makeup looked in outdoor photos,” she told me. “Switching to calibrated lighting cut retouching time by 70% and client complaints by 100%.”
On the budget end, TikTok creator @MakeupByMaya uses the Lume Cube Panel Mini ($80) mounted on a tripod beside her mirror. “It’s small, but the 95 CRI means my drugstore foundation actually matches my jawline,” she says. Her engagement jumped 40% after switching from a basic ring light—because her makeup finally looked consistent on camera.
Both prove: it’s not about spending thousands. It’s about *accuracy*.
FAQs About Cosmetic Precision Aids
What’s the difference between a regular makeup mirror and a cosmetic precision aid?
A regular mirror may have lights, but they’re often low-CRI and fixed-color. A true cosmetic precision aid offers daylight-balanced (5000K–6500K), high-CRI (>90), dimmable, and diffused lighting—engineered for color-critical tasks.
Can I use a photography light as a cosmetic precision aid?
Yes! Many MUAs do. Just ensure it has adjustable color temp and high CRI. Avoid strobes—continuous LED is essential for real-time blending.
Do I need one if I only wear minimal makeup?
Absolutely. Even tinted moisturizer can oxidize or appear patchy under bad light. Precision lighting ensures your “no-makeup makeup” actually looks natural everywhere.
Are LED lights safe for long-term skin exposure?
Yes. Unlike UV tanning beds, quality LED cosmetic lights emit zero UV radiation. The American Academy of Dermatology confirms LEDs pose no known skin risk (source).
Conclusion
A cosmetic precision aid isn’t a luxury—it’s the missing link between “meh” and magazine-ready makeup. Whether you’re a content creator, bride-to-be, or just tired of looking orange in group photos, investing in accurate lighting pays off in confidence, consistency, and camera-ready results.
Remember: your makeup is only as good as the light that reveals it. So stop guessing. Start seeing.
Like a Tamagotchi, your glow needs daily care—and the right light.
Dawn on your cheekbone,
No more ashy concealer lies—
Truth in 5500K.

