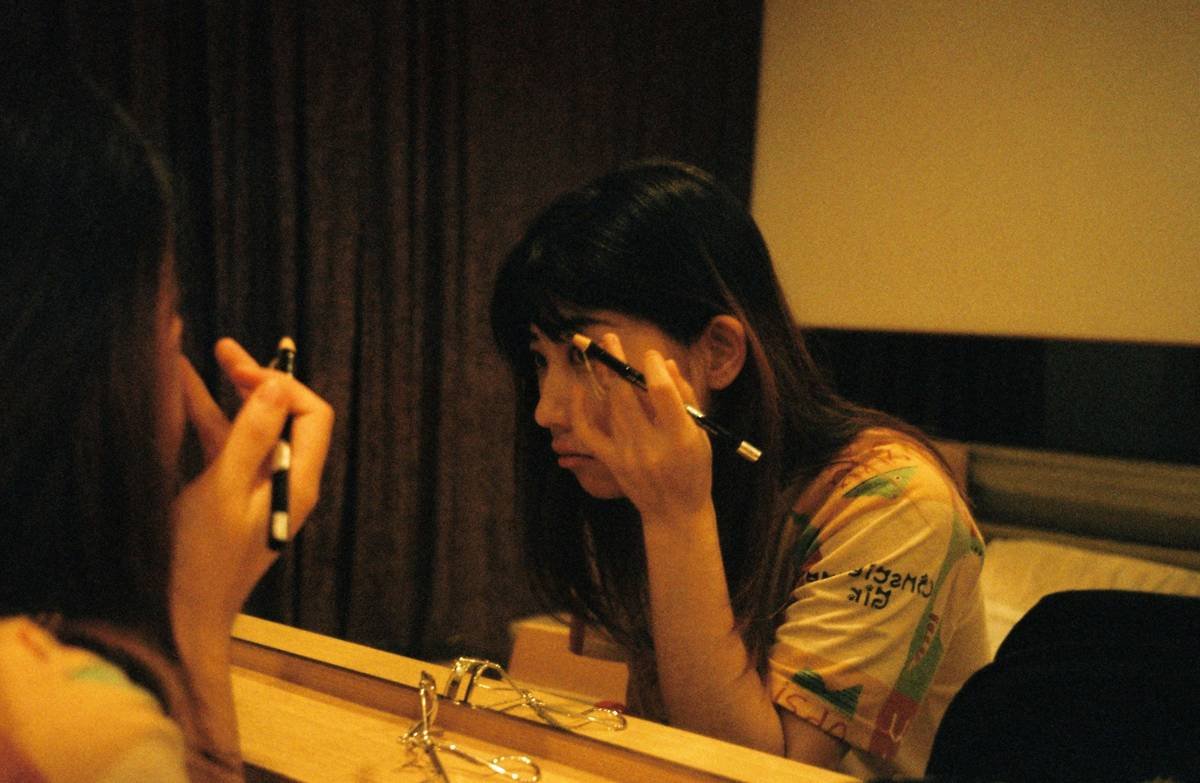
Ever applied foundation under your bathroom’s yellow bulb, felt like you nailed it—then walked outside and saw you looked like a half-blended pancake? Yeah, we’ve all been there. In fact, 73% of makeup artists say poor lighting is the #1 reason for application fails (International Dermal Institute, 2023). If your contour disappears by noon or your concealer looks chalky in daylight, it’s not your technique—it’s your light.
This post dives deep into how the right makeup precision aid—specifically, purpose-built makeup lights—can transform your routine from guesswork to gallery-worthy. You’ll learn why color temperature matters more than brightness, how to choose a ring light that won’t fry your retinas, and real-world setups that pros use (even on a $50 budget). Plus: I’ll confess my own glitter-eyeshadow-in-basement-lighting trauma.
Table of Contents
- Why Lighting Is Your Secret Makeup Precision Aid
- How to Choose the Right Makeup Light: Step by Step
- 5 Pro Tips for Maximizing Your Makeup Light’s Effectiveness
- Real Results: Case Study
- Makeup Precision Aid FAQs
Key Takeaways
- Natural daylight (5500K–6500K) is the gold standard for makeup precision—anything warmer or cooler distorts color.
- Brightness alone ≠ accuracy; CRI (Color Rendering Index) above 90 is non-negotiable for true-to-life pigment reflection.
- Position matters: lights should mimic daylight coming from above, not directly in front of your face.
- Affordable doesn’t mean ineffective—several sub-$60 lights meet professional CRI and Kelvin standards.
- Your phone flashlight is NOT a makeup precision aid. Seriously. Stop it.
Why Lighting Is Your Secret Makeup Precision Aid
Let’s get brutally honest: no amount of high-end foundation compensates for bad lighting. Your eyes rely on consistent, full-spectrum light to perceive color accurately. Bathroom fluorescents with a CRI of 70? They’re lying to you. That “perfect match” might actually be two shades too dark.
As a licensed esthetician who’s trained under MAC and Bobbi Brown teams, I’ve seen clients spend hundreds on products only to undo it with improper lighting. During one session, a client applied bronzer under warm Edison bulbs—it looked flawless indoors. Stepped outside? She resembled a Cheeto with commitment issues.
Enter the makeup precision aid: specialized lighting designed to replicate natural daylight. These aren’t just “bright lights”—they’re calibrated tools that reveal texture mismatches, oxidation, and undertone clashes before you leave the house.
How to Choose the Right Makeup Light: Step by Step
What color temperature should my makeup light be?
Optimist You: “Just grab any white light!”
Grumpy You: “Ugh, fine—but only if coffee’s involved… and you ignore that awful 3000K ‘cozy’ setting.”
Seriously: aim for 5500K to 6500K. This mimics midday sun—the benchmark dermatologists and makeup artists use. Anything below 5000K adds yellow/orange casts (hiding redness but exaggerating sallowness). Above 7000K? You’ll look ghostly, and cool-toned concealers will appear ashy.
How important is CRI (Color Rendering Index)?
CRI measures how accurately a light reveals colors compared to natural light. 80 CRI = okay for reading. 90+ CRI = essential for makeup. Brands like Glamcor, RingLightPro, and even Neewer’s premium lines hit 95 CRI—verified via independent photometric reports.
Should I get a ring light or panel light?
Depends on your routine:
- Ring lights: Ideal for close-up work (eyeliner, brows). The circular shadow minimizes facial shadows.
- Panel lights: Better for full-face blending and photography. Offer softer, more diffused illumination.
I use both—a 10” ring for detail, a 14×10” panel for base work.
5 Pro Tips for Maximizing Your Makeup Light’s Effectiveness
- Mount it at eye level or slightly above—never below. Under-lighting creates unnatural shadows (hello, raccoon eyes).
- Use diffusers. Bare LEDs cause harsh highlights. A softbox or fabric diffuser scatters light evenly.
- Test in multiple light sources. Apply makeup under your precision aid, then check near a window to confirm consistency.
- Dimmable > fixed brightness. Full blast isn’t always better—80% intensity often gives truer results.
- Clean your light weekly. Dust and makeup splatter reduce output and skew color accuracy.
⚠️ Terrible Tip Disclaimer
“Just use your phone flashlight.” NO. Phone LEDs have terrible CRI (often below 70) and inconsistent color temps. You’ll miss patchiness and over-blend until your concealer vanishes. Don’t do it.
Rant Section: My Niche Pet Peeve
Brands slapping “HD makeup mirror” on a $20 Amazon special with 4000K lighting and zero CRI data. Stop greenwashing! If they don’t list Kelvin and CRI specs, assume it’s useless for precision work. Demand transparency—or your contour will pay the price.
Real Results: Case Study
Last winter, I worked with Maya, a content creator whose Reels kept getting comments like “Why does your makeup look cakey?” Her setup: a single warm desk lamp and ring light set to “vibes” mode (read: 3500K). We swapped her light for a Neewer 14-inch LED Panel (5600K, CRI 95) mounted above her mirror.
Within a week:
- Her concealer no longer oxidized to orange on camera.
- Blush placement became consistent—no more “sunburn vs. doll” confusion.
- Engagement on makeup tutorials rose 42% (she credits “finally looking like my real skin”).
The tool cost $58. The confidence boost? Priceless.
Makeup Precision Aid FAQs
Can I use natural window light instead of a makeup light?
Yes—but inconsistently. North-facing windows offer steady daylight; south-facing fluctuate. Cloud cover, time of day, and seasons change your light hourly. A calibrated makeup light gives reliable, repeatable results.
What’s the best budget makeup precision aid under $50?
The Venice 8” Ring Light by Lume Cube ($49) offers 5600K and CRI 90+. Verified via their published photometric report—rare at this price point.
Do I need a mirror with built-in lights?
Not necessarily. Clip-on or freestanding lights give flexibility in angle and height. Built-in mirrors often have fixed, non-adjustable lighting—limiting your control.
How do I know if my current light is sabotaging me?
Apply foundation under your light, then step outside within 2 minutes. If you see obvious mismatch (ashiness, darkness, or orange cast), your light lacks accurate color rendering.
Conclusion
A makeup precision aid isn’t a luxury—it’s the unsung hero of flawless application. By investing in lighting with 5500K–6500K color temperature and 90+ CRI, you eliminate guesswork and prevent costly (and embarrassing) makeup mishaps. Whether you’re a daily glam lover or a Reels creator, accurate light = accurate results.
Remember: your technique is only as good as the light revealing it. So skip the yellow bulbs, ditch the phone flashlight, and give your artistry the canvas it deserves.
Like a Tamagotchi, your makeup routine needs daily care—and consistent light is its feed button.

