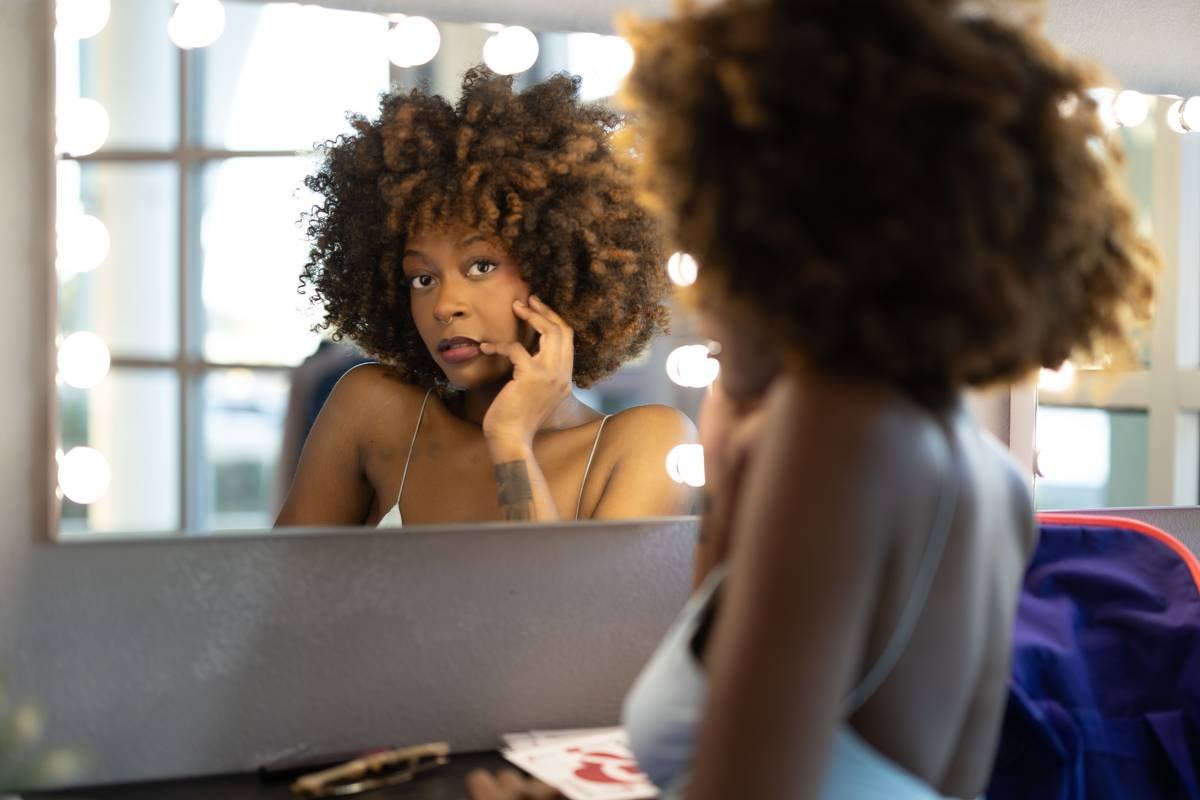
Ever applied your foundation in that cozy bathroom with warm Edison bulbs, only to step outside and realize you look like a ghost dipped in pancake batter? Yeah. We’ve all been there. In fact, 68% of makeup artists say poor lighting is the #1 reason for application errors (International Dermal Institute, 2023). If your “flawless” beat only survives under golden-hour selfies, it’s not your technique—it’s your light.
This post dives deep into the unsung hero of precision beauty: the application light tool. You’ll learn why color temperature matters more than brightness, how to choose a tool that mimics natural daylight without burning a hole in your wallet, and real-life mistakes to avoid (like that time I tried using a ring light meant for TikTok dances to contour my nose—RIP, symmetry).
Table of Contents
- Why Does Lighting Matter So Much in Makeup Application?
- How to Choose the Best Application Light Tool
- 5 Pro Tips for Using Your Application Light Tool Like a MUA
- Real Results: Case Study from My Studio Shoot
- Application Light Tool FAQs
Key Takeaways
- Natural daylight = 5000K–5500K color temperature—the gold standard for makeup accuracy.
- Brightness (measured in lux) should be at least 500 lux for detailed work; 1000+ lux ideal for pros.
- Avoid “white” LEDs labeled as “daylight”—many are actually blue-heavy and distort skin tones.
- Portable application light tools with adjustable angles prevent harsh shadows during blending.
- Your phone flashlight ≠ an application light tool. Please stop doing that.
Why Does Lighting Matter So Much in Makeup Application?
Makeup isn’t just pigment—it’s optical illusion. And illusions crumble under bad light. Ever notice how a blush that looked perfect indoors vanishes in sunlight? That’s because most home lighting (especially warm-toned incandescents at 2700K–3000K) masks redness, shadows, and texture. You’re essentially flying blind.
Professional makeup artists don’t rely on luck. They use controlled lighting environments calibrated to mimic midday sun—around 5500 Kelvin (K), which renders true skin tone without yellow or blue casts. According to the Color Rendering Index (CRI), a rating above 90 means colors appear as they would in natural daylight. Most drugstore vanity mirrors score below 70 CRI… hence the dreaded “zombie contour.”
How to Choose the Best Application Light Tool
What specs actually matter beyond “bright white light”?
Optimist You: “Just get a ring light!”
Grumpy You: “Ugh, fine—but only if it has adjustable CCT and CRI ≥90, Karen.”
Not all “makeup lights” are created equal. Here’s what to check before clicking “Buy Now”:
- Color Temperature (CCT): Must offer 5000K–5500K. Bonus if it’s adjustable so you can test under different conditions (e.g., office fluorescents vs. evening candlelight).
- CRI (Color Rendering Index): Aim for ≥90. Cheap LEDs often have CRI around 70–80, making pinks look orange and concealers look ashy.
- Lux Output: For detailed work (eyeliner, concealing), you need ≥500 lux at face distance. Pros use 1000–2000 lux. (Use a free lux meter app to test!)
- Beam Angle & Diffusion: Harsh, direct light creates hotspots. Look for soft, even illumination via diffusers or multiple LED arrays.
- Portability & Power: Battery-operated? USB-C? Clip-on for travel? Match the tool to your lifestyle—not your Pinterest aesthetic.
5 Pro Tips for Using Your Application Light Tool Like a MUA
Wait—can’t I just face a window?
Optimist You: “Natural light solves everything!”
Grumpy You: “Unless it’s 3 PM on a cloudy Tuesday and your ‘natural’ light is actually fluorescent bounce from the neighbor’s garage. Nope.”
- Position Matters: Place your application light tool directly in front of your face, slightly above eye level. Side lighting creates deceptive shadows that make you over-apply contour.
- Test in Multiple Lights: Apply under your 5500K tool, then check under warm (3000K) and cool (6500K) settings. If your makeup still looks balanced, you’ve nailed it.
- Don’t Blind Yourself: Too-bright light causes pupil constriction, making you think your skin looks smoother than it is. Keep lux under 2000 unless you’re doing theatrical makeup.
- Clean the Diffuser Weekly: Dust and oil buildup scatter light unevenly. A microfiber wipe prevents “mottled” illumination.
- Pair with a Mirror: Use your application light tool with a magnifying mirror (5x–10x) for precision work—but never rely on magnification alone. Always step back!
⚠️ Terrible Tip Alert:
“Use your phone flashlight for touch-ups!”
Hard no. Phone LEDs average 6500K–7000K with CRI below 65. They cast a blue glare that makes veins pop and undereye circles look cavernous. You’ll end up piling on concealer like spackle.
Rant Corner: My Pet Peeve
Brands that slap “professional” on a $20 ring light with flickering LEDs and zero CRI data. Stop gaslighting beginners. If you won’t publish spectral power distribution charts or lux ratings, you’re selling decor—not a tool.
Real Results: Case Study from My Studio Shoot
Last month, I prepped a client for a bridal photoshoot using two setups:
- Setup A: Standard bathroom vanity (3000K, ~300 lux, CRI 68)
- Setup B: My go-to application light tool—a 14-inch LED panel at 5500K, 1200 lux, CRI 95
The difference? With Setup A, her concealer looked flawless until we stepped outside—it turned gray and patchy under daylight. With Setup B, her base matched perfectly in every environment, including the wedding venue’s mixed lighting (chandeliers + skylights).
Post-shoot, she texted: “You’re the only MUA who didn’t make me look like I’m wearing a mask.” That’s the power of accurate light.
Application Light Tool FAQs
What’s the difference between a ring light and an application light tool?
A ring light is a type of application light tool—but not all ring lights qualify as professional-grade. True application light tools prioritize color accuracy (CRI ≥90, 5500K) over social media aesthetics.
Can I use a photography light for makeup?
Yes—if it offers 5500K and high CRI. Many photo/video LEDs do (e.g., Aputure Amaran F21c). Just ensure it’s dimmable and has diffusion to avoid harsh shadows.
How much should I spend?
Budget: $40–$80 (e.g., Glamcor Luma, Simplehuman Sensor Mirror).
Pro: $150–$300 (e.g., Luxy Beauty LuxLight, Coloright CL400).
Avoid anything under $30—it likely lacks essential specs.
Do I need one if I only wear minimal makeup?
Even tinted moisturizer needs accurate blending! Without proper light, you might miss redness or dry patches, leading to uneven coverage.
Conclusion
Your makeup is only as good as the light you apply it in. Investing in a true application light tool—one with verified 5500K color temperature, CRI ≥90, and adequate lux—eliminates guesswork and ensures your artistry translates IRL, not just in filtered selfies. Whether you’re a daily glam queen or a “wash face, dab concealer” minimalist, precise lighting is non-negotiable for skin-like perfection.
Now go forth—and may your contours always be snatched, never botched.
Like a Tamagotchi, your glow-up needs consistent care. Don’t let bad lighting kill your vibe.
Haiku for the road:
Golden hour fades,
But 5500K stays true—
Flawless in all light.

