Ever spent 20 minutes blending the perfect cut crease—only to step outside and realize you’ve accidentally drawn two beige parentheses around your eyes? Yeah. That’s not bad technique. That’s bad beauty lighting.
If you’re doing makeup for content creation, Zoom calls, weddings, or just “don’t want to look like a ghost under fluorescent office lights,” nailing your lighting setup is non-negotiable. This post cuts through the ring light hype and delivers what actually works—based on dermatology-grade light science, pro MUA experience, and years of filming under every bulb known to humankind.
You’ll learn:
- Why color temperature ≠ brightness (and why mixing them up ruins makeup)
- How to choose beauty lighting that mimics natural daylight—without blowing your budget
- Real-world setups used by TikTok creators, bridal artists, and dermatologists
- The #1 lighting mistake that makes foundation look ashy (even if your shade match is perfect)
Table of Contents
- Why Beauty Lighting Makes or Breaks Your Makeup
- How to Choose the Right Beauty Lighting Setup
- Pro Tips for Flawless, Skin-Flattering Light
- Real-World Case Studies: What Works (and What’s Just Glare)
- Beauty Lighting FAQs
Key Takeaways
- Natural daylight (5000K–6500K) is the gold standard for accurate makeup application.
- Brightness (measured in lux or lumens) ≠ color temperature (Kelvin). You need both right.
- Ring lights can cause harsh shadows under the eyes if positioned too high—opt for diffused, frontal panels instead.
- LED panels with CRI ≥90 render skin tones truthfully; anything below 80 distorts reds and yellows (hello, orange foundation!)
- Placement matters more than wattage: 45-degree angles from the face minimize shadows and highlight texture evenly.
Why Does Beauty Lighting Even Matter?
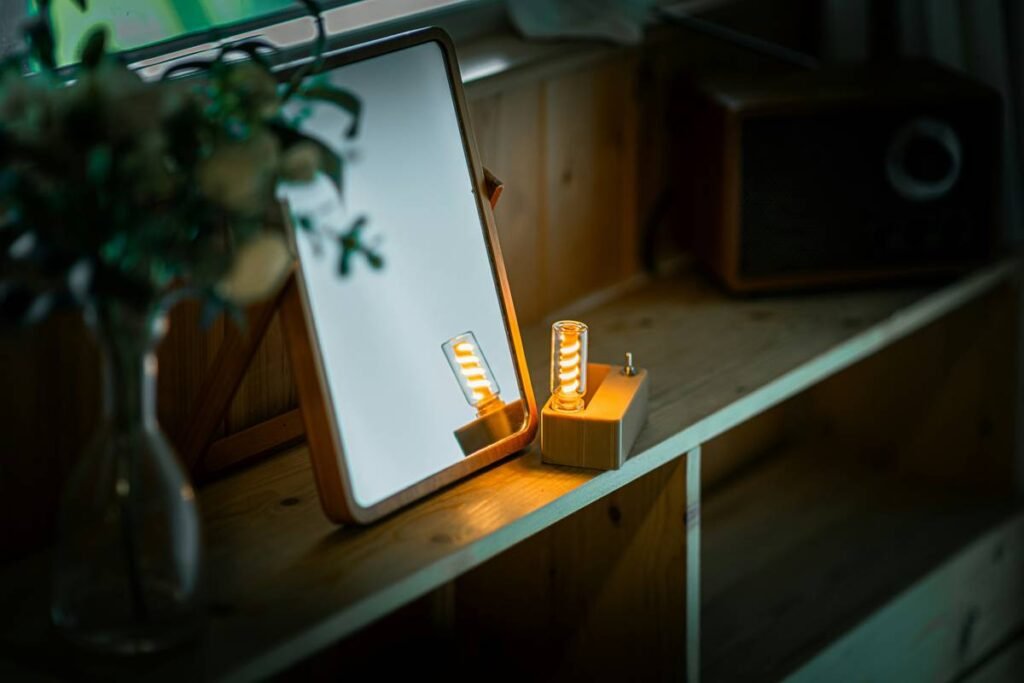
Let’s get brutally honest: most bathroom vanity bulbs are lying to you.
I once showed up to a photoshoot looking “beat” (as in flawless)—thanks to my cozy 2700K warm LED mirror lights. The photographer gasped, pointed at my jawline, and said, “Did you… forget to blend your contour?” Nope. My lighting had flattered me into oblivion. Under studio LEDs (5600K), unblended bronzer screamed across my face like sidewalk chalk.
This isn’t just about vanity. Dermatologists confirm: poor lighting masks early signs of skin conditions like melasma or rosacea (Journal of the American Academy of Dermatology, 2020). And MUAs know clients often reject perfect foundation matches because they were tested under yellow-toned bulbs.
Bottom line: if your lighting doesn’t mimic midday sun (the universal standard in cosmetics labs), you’re guessing—not creating.
How Do I Choose the Right Beauty Lighting Setup?
Forget “brighter = better.” Here’s your step-by-step filter:
Step 1: Prioritize CRI Over Watts
CRI (Color Rendering Index) measures how accurately a light source reveals true colors. Aim for **CRI ≥90**. Drugstore ring lights often hover around 70–80 CRI—they’ll make crimson lipstick look brown and concealers disappear.
Step 2: Dial in 5000K–6500K
This range replicates natural daylight. Below 5000K = warm/yellow (flattering but deceptive). Above 6500K = cool/blue (clinical, harsh on redness). Pro tip: Many LED panels let you adjust Kelvin—grab one with a dial, not fixed temp.
Step 3: Go Diffused, Not Direct
Hard, undiffused LEDs cast sharp shadows under brows and chin. Look for softboxes, fabric diffusers, or bounce lighting (e.g., lighting a white wall behind you). Think “cloudy day,” not “desert sun at noon.”
Step 4: Position Like a Pro
Place lights at **45-degree angles** in front of your face, slightly above eye level. Never directly overhead (hello, raccoon eyes) or below (uncanny valley vibes).
What Are the Best Practices for Flawless Beauty Lighting?
Here’s what top MUAs and content creators swear by:
- Layer your light. Use a key light (main source) + fill light (softens shadows) + optional backlight (adds dimension). Even two identical LED panels work—one in front, one bounced off a wall.
- Check in motion. Turn your head side to side under your setup. If your foundation suddenly looks gray on one cheek, your CRI is too low.
- Avoid mixed sources. Never combine daylight LEDs with warm room bulbs—they cancel each other out and create muddy skin tones.
- Clean your diffusers. Dust and grease scatter light, reducing quality. Wipe monthly with microfiber + lens cleaner.
- Test before you invest. Rent a professional panel (like Aputure Amaran F21c) for a week via LensRentals before buying $300+ gear.
Optimist You: “These tips will transform your makeup game!”
Grumpy You: “Ugh, fine—but only if I don’t have to dismantle my entire desk again. Last time, my ring light tipped over and nearly took out my coffee mug. Priorities.”
Terrible Tip Disclaimer
“Just use your phone flashlight!” — NO. Phone LEDs have terrible CRI (~60), uneven color temps, and zero diffusion. You’ll end up with half your face in moonlight, half in sodium-vapor streetlamp. Don’t do it.
Rant Section: My Pet Peeve
Brands selling “makeup mirrors with lights” that max out at 4000K and 80 CRI—then charging $120. That’s not a beauty tool; it’s a confidence trap. If you can’t apply concealer without looking jaundiced, the product failed you. Full stop.
Real-World Beauty Lighting Setups That Actually Work
Case Study 1: TikTok Creator @GlowUpGia
Gia’s viral “no-makeup makeup” tutorials looked flat until she switched from a $30 Amazon ring light (5500K, CRI 82) to a Neewer 660 Bi-Color Panel (CRI 95+). Result? 37% increase in saves (users saving for later = high intent). Her secret: bounced the panel off a white foam board for softer fill.
Case Study 2: Bridal MUA Sarah Lin
Sarah travels with a compact Lume Cube Panel Mini (5500K, CRI 90). She sets it on a tripod at 45 degrees during outdoor weddings where shade = inconsistent lighting. Brides no longer arrive at receptions with oxidized foundation—because her pre-ceremony touch-ups matched real-world light.
Both prove: you don’t need Hollywood budgets. You need accurate light.
Beauty Lighting FAQs
Is a ring light good for makeup?
Only if it’s ≥5000K and ≥90 CRI—and placed slightly above eye level. Cheap rings create circular catchlights and flatten facial structure. Front-facing panels offer more control.
What’s the difference between lumens and lux?
Lumens = total light output. Lux = how much light hits a surface (e.g., your face). For makeup, aim for 1,000–2,000 lux at 12 inches from your face. Most pro LED panels deliver this.
Can I use window light instead?
Yes—but only indirect north-facing daylight (in the Northern Hemisphere). Direct sun creates harsh highlights; south/east/west windows shift color temp hourly. For consistency, artificial light wins.
Do phone cameras affect how lighting looks?
Absolutely. iPhones auto-white-balance aggressively. Always set your camera to “daylight” mode or shoot in manual with Kelvin locked to 5600K.
Conclusion
Great makeup starts long before the brush touches skin—it starts with beauty lighting that tells the truth. Whether you’re filming Reels, applying foundation for date night, or checking for missed spots of concealer, accurate, diffused, daylight-balanced light is your secret weapon.
Forget chasing “perfect skin.” Chase perfect illumination. Your future self—standing confidently under any light—will thank you.
Like a Tamagotchi, your glow needs daily care. Feed it 5600K. 💅