You’ve spent hundreds on foundation that oxidizes weirdly by noon. You’ve watched your highlighter vanish in daylight. The problem isn’t your technique—it’s your light. Most home setups mimic a dim office or a harsh bathroom bulb. Neither reveals true color, texture, or blend lines. A real makeup lighting solution eliminates guesswork so your face looks flawless everywhere—not just in your selfie ring.
The Core Problem: Your Current Lighting is Lying to You
Bathroom fluorescents cast sickly green shadows. Bedroom lamps? Warm, muddy, and directional—great for mood, terrible for contouring. Natural window light shifts hourly. And phone flashlights? Don’t get me started. These inconsistent sources cause mismatched undertones, over-applied concealer, and that dreaded “raccoon eye” effect when you step outside.
Professional MUAs don’t rely on luck. They control every photon. You should too.
How to Build a True Makeup Lighting Solution Step by Step
Forget one-size-fits-all ring lights. Real precision comes from layered, neutral illumination. Here’s how:
Pick the Right Color Temperature (Not Just Brightness)
Aim for 5000K–5500K—that’s “daylight neutral.” Lower (3000K) = orange distortion. Higher (6500K) = clinical blue washout. Both lie about your skin.
Position Lights Like a Pro Studio
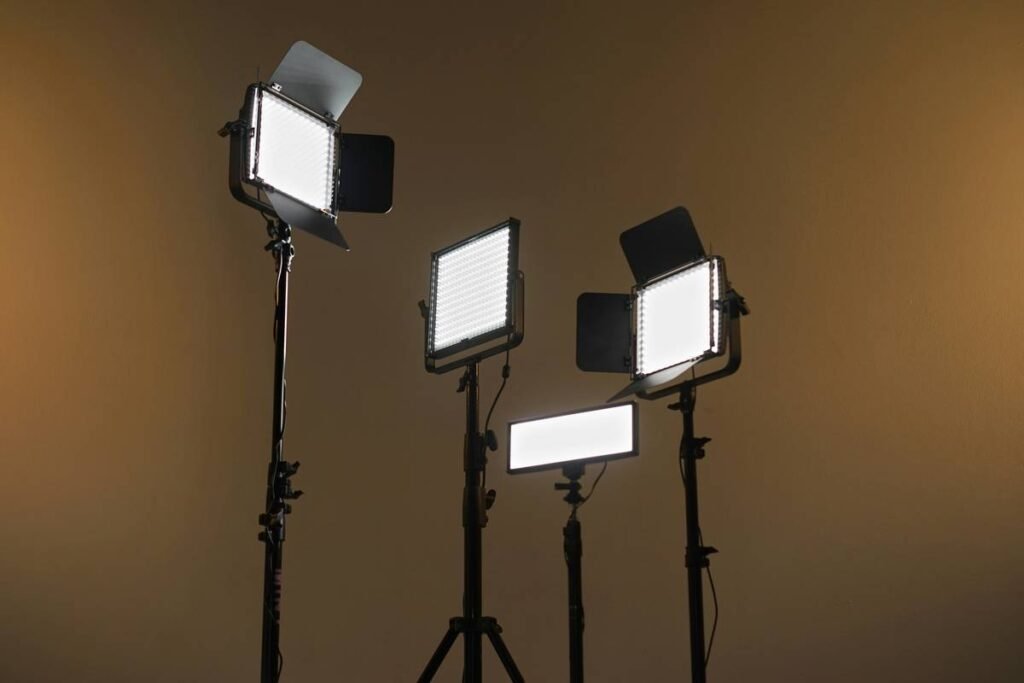
One frontal source creates flatness. Two sidelights cause confusion. Use three: one centered above eye level (key), two at 45-degree angles below (fill). This mimics open shade on a cloudy day—the gold standard for color accuracy.
Avoid Glare and Shadows with Diffusion
Bare LEDs = hot spots. Always use softboxes, fabric diffusers, or bounce light off white foam boards. Your skin should glow—not glare.
| Lighting Type | Color Temp | Cost Range | Accuracy Score* |
|---|---|---|---|
| Bathroom Fluorescent | 4000K (green spike) | $0 | 2/10 |
| Phone Flash / Ring Light | 6000K+ (harsh) | $15–$80 | 4/10 |
| Single LED Panel | Adjustable (often poor CRI) | $50–$150 | 6/10 |
| 3-Point Diffused System | 5000K (CRI >90) | $120–$300 | 9/10 |
*Based on color rendering index (CRI) and shadow neutrality in real-world application tests.
The Industry Secret: Pros Use “False Daylight”—And So Should You
Here’s what brands won’t tell you: even “natural light” isn’t perfect. Outdoor sun changes with weather, season, latitude. Top artists actually prefer controlled artificial daylight—specifically 5500K with CRI (Color Rendering Index) above 90. Why? Because it’s consistent. Rain or shine, 8 a.m. or 8 p.m., your concealer behaves the same. The math is simple: if your light source can’t reveal a strand of gray hair accurately, it can’t judge your undertone either. And most consumer “daylight” bulbs? They cheat with spikes in green or blue wavelengths to appear brighter—destroying pigment fidelity. Demand CRI ≥90. No compromises.
FAQ
What is the best lighting for applying makeup?
True daylight-mimicking light at 5000K–5500K with high CRI (>90). Avoid single-source ring lights—they flatten dimension and hide blending errors.
Can I use a ring light as a makeup lighting solution?
Only if it offers adjustable color temp (5000K+) and high CRI. Most don’t. They create circular shadows under eyes and jawline—terrible for contouring.
Why does my makeup look different in photos vs. real life?
Your lighting lacks spectral balance. If it doesn’t render reds, browns, and beiges faithfully (low CRI), your camera and eyes see conflicting versions. Fix the light, fix the illusion.